
The Goblet Squat is a simple yet powerful total-body exercise and is the best way to learn how to squat with a kettlebell.
In this article, we’re breaking down the kettlebell goblet squat, and how to perform it with proper form to develop hip mobility, leg strength, and total-body work capacity.
We’ll also take a look some other kettlebell squat variations using both single and double bells.
The goblet squat is an amazing exercise and has a place in every lifter’s workout program.
As a coach, among my most important jobs is teaching new lifters how to squat with strong, safe technique… and the goblet squat gets the job done with fast and consistent results.
The goblet squat was invented by legendary strength coach Dan John whose work and support has been instrumental in my development as a trainer.
Goblet Squat Muscles Worked
The cool thing about a goblet squat is that it’s truly a full-body exercise.
Like any squat movement, you’ll definitely hit the prime movers of the quads, glutes, and adductors (inner thigh muscles).
Additionally, because you have to hold and support the kettlebell with your upper body, the forearms, biceps, deltoids (shoulders), upper back, and core are fired up as well.
Before we grab a kettlebell and get to squatting, let’s cover two very important technique points.
Foot Placement for Goblet Squats
First, we’ll find your optimal foot position.
Every squat starts at the feet, so getting this right could mean the difference between feeling great while getting stronger vs. contending with sore knees and back pain.
Let this be known – there is no single best squat stance that applies to everyone.
Differences in anatomy, mobility, and strength mean that you’ll have to experiment to find what feels best for you and your body.
But I will show you what to look out for and the simple process I use to help students find what works.
Your foot position consists of two main parts – the width of your stance and the angle of turnout with the feet.
Stance width is pretty simple – just set your heels somewhere between 2 and 6 inches outside of hip width. You want just enough space for your hips and torso to fall between the knees.
To dial in the toe angle, I like to use this strategy from Brett Jones:
Stand on a hardwood floor with socks on. Your feet should be able to slide around with minimal friction. With the feet hips-width apart and pointed straight, squeeze the glutes as hard as you can, rock back slightly on the heels, and allow your feet turn out.
You may find that one foot turns out more or less than the other and this is completely normal.
Wherever your feet settle is probably going to be the best angle for your squats.
This is how we use hip structure to determine foot position. If it’s the other way around, we risk jamming up the hip, rounding the low back (aka “butt wink”), or simply reducing the range of motion of our squats.
In any case, be sure to make adjustments along the way and take note of what positions feel best and allow more range of motion.
The “Active Negative” Squat
This quick technique tweak will revolutionize how you squat!
Rather than simply yielding to gravity on the way down, you can supercharge every rep by actively pulling yourself down into the squat. You achieve this by engaging your abs and hip flexors to control the descent.
To get the hang of this technique, you can lie down on your back and have a partner grab the tops of your feet. Pull your knees into your chest as your partner gently resists. This mimics the squat pattern and forces you to achieve full range of motion by actively using your core and hip flexors.
This drill can also be performed by looping a resistance band over your feet.
Hold the deepest hips-flexed position you can for about 5 seconds while maintaining core tightness and a neutral spine.
By learning how to actively pull yourself into hip flexion, your squats will be stronger and safer, reducing hip pinching and low-back rounding.
How to Goblet Squat with Proper Form
With our foot stance and active negative technique dialed in, it’s time to squat!
- Get the kettlebell into position with a power clean off the floor.
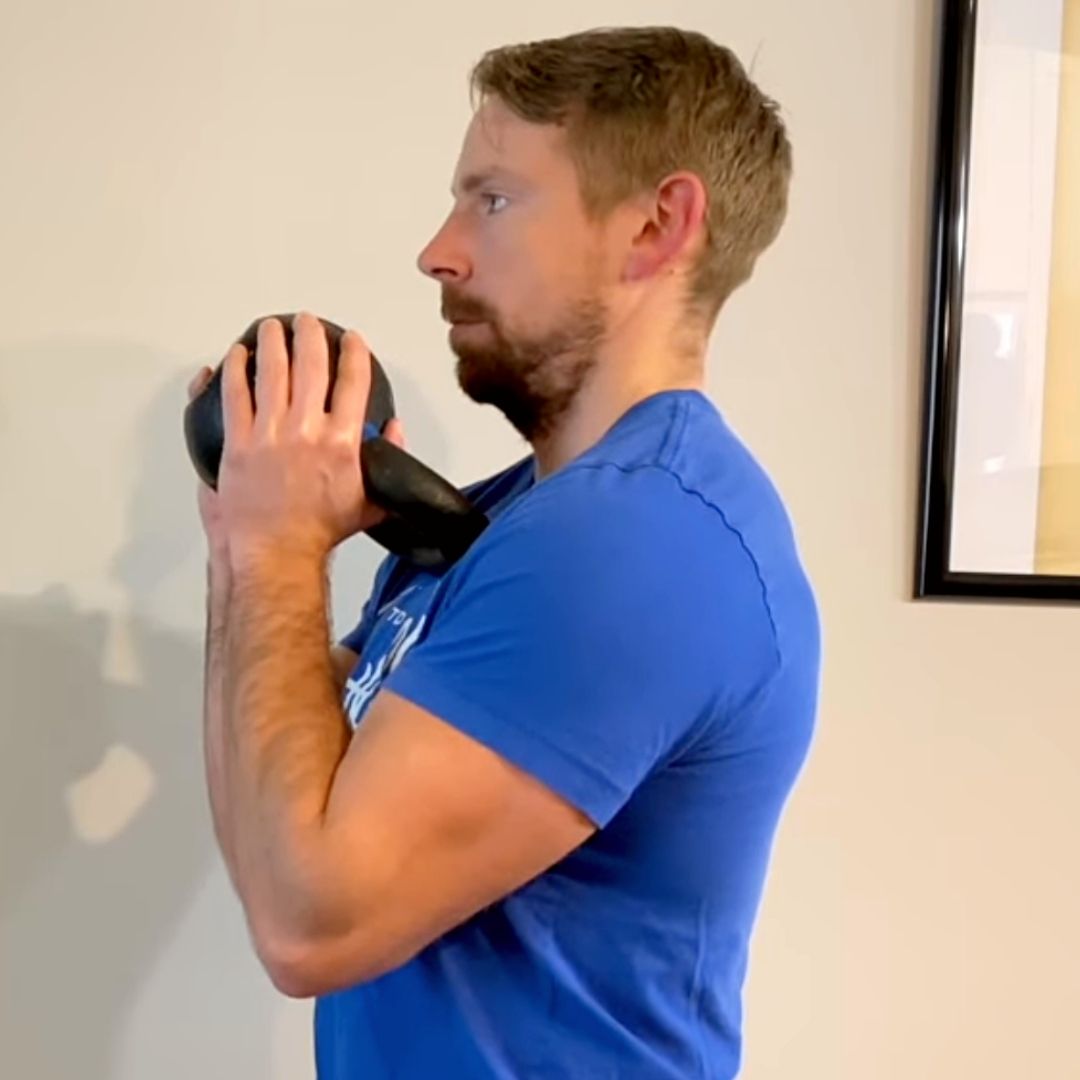
- As the hips lock out, bend the elbows to guide the kettlebell up to chest-height. Quickly shift your grip from the top of the handle around to the horns.
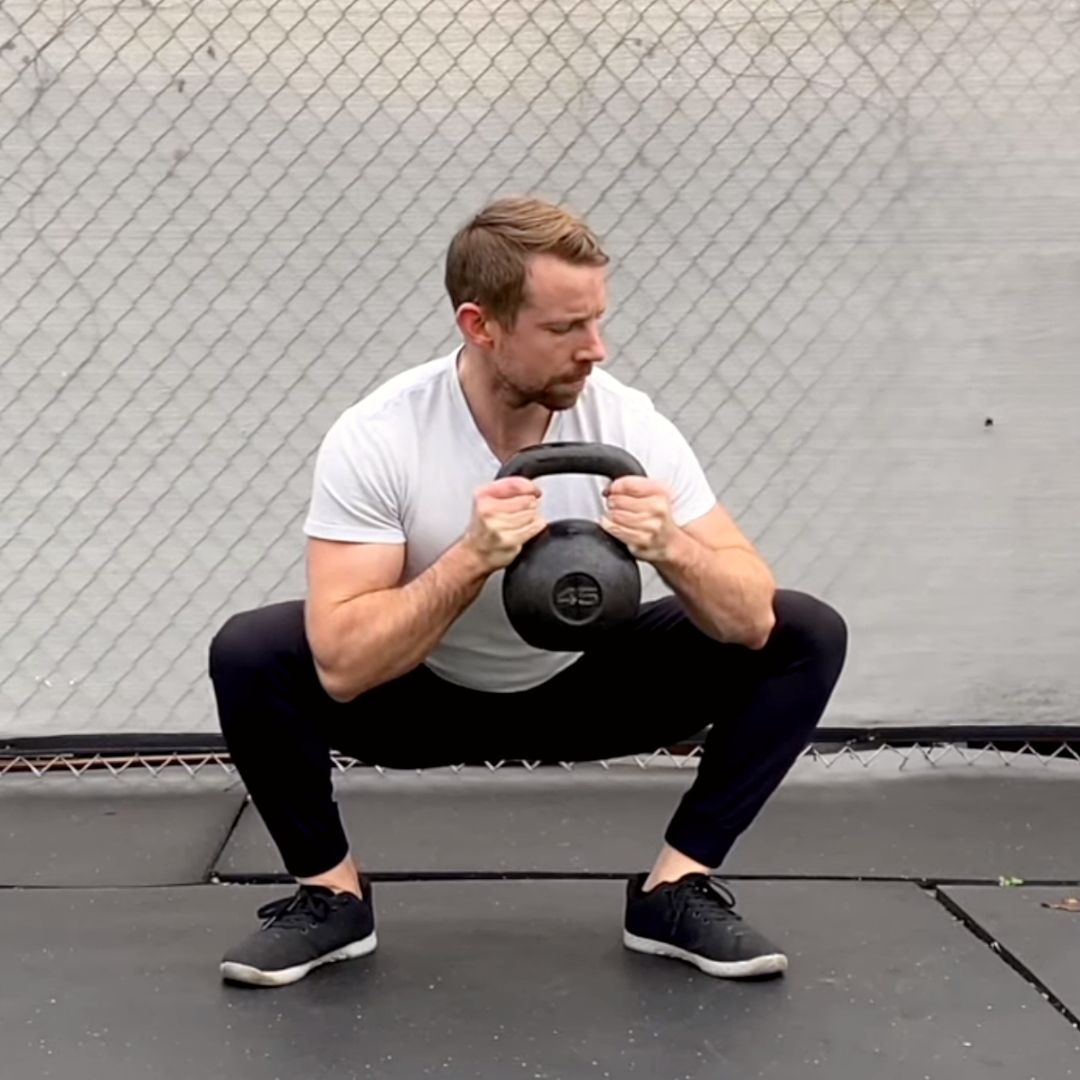
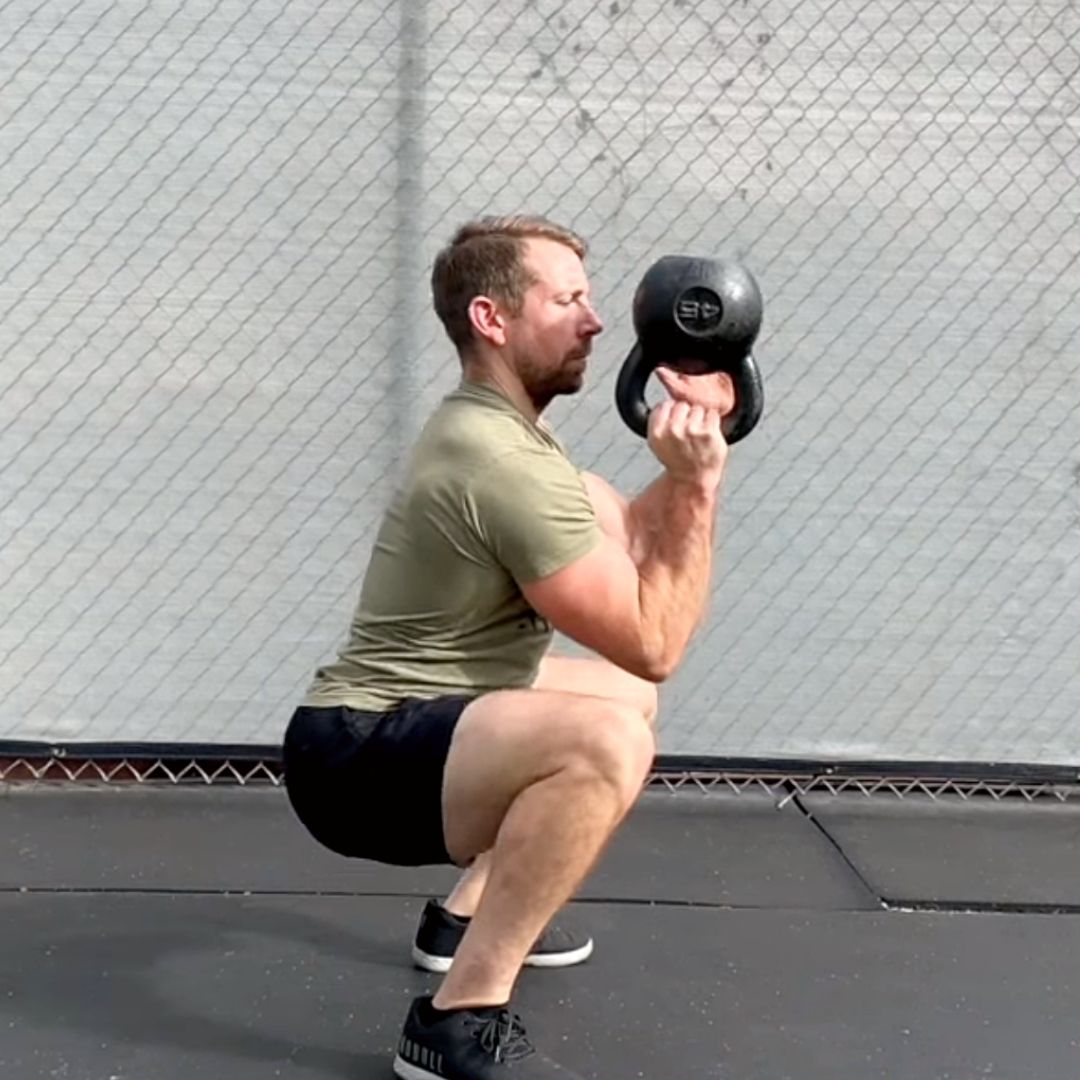
- Settle the bell with a tight grip, elbows point down, and hold a few inches away from the chest. Keep the legs, glutes, and core tight, shoulders down.
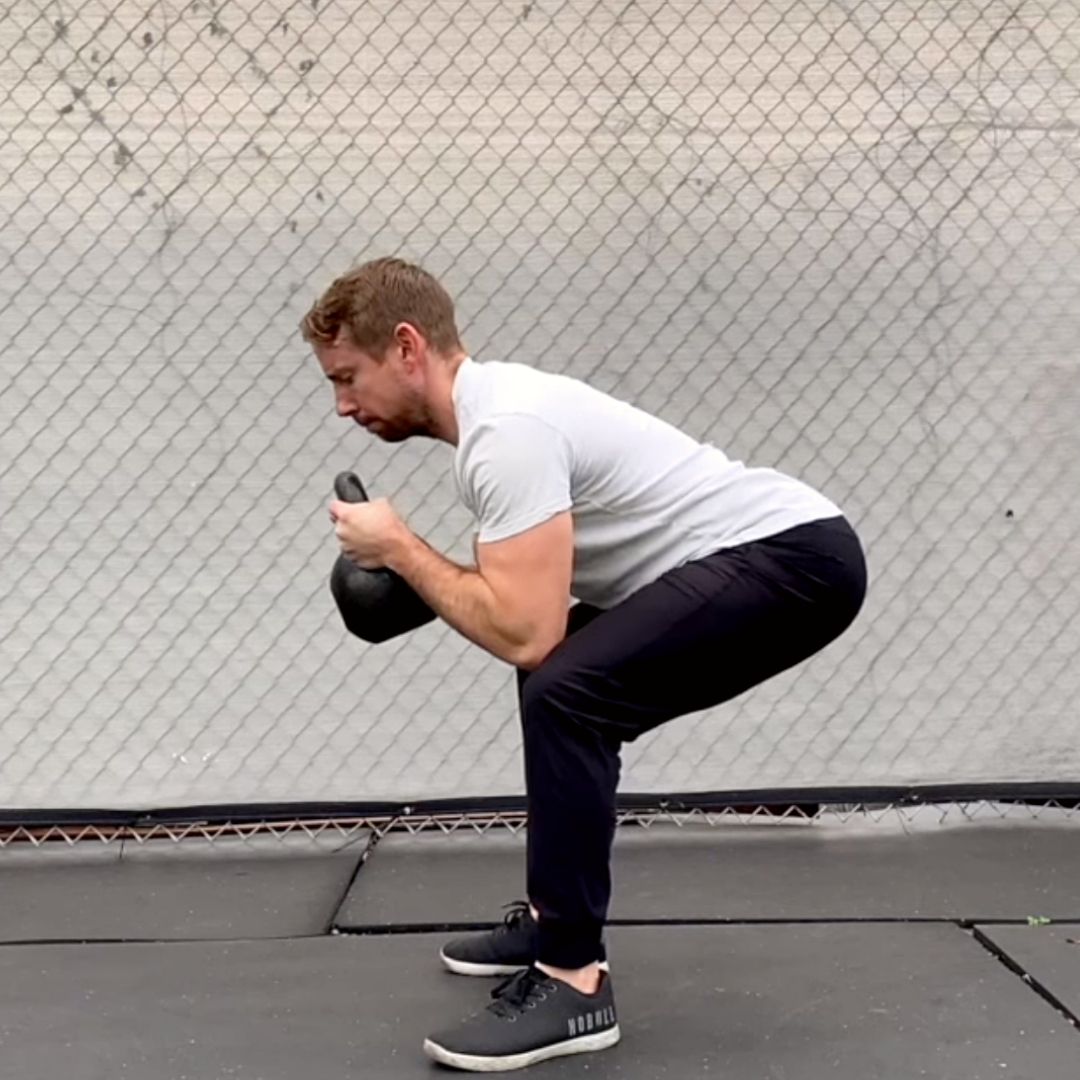
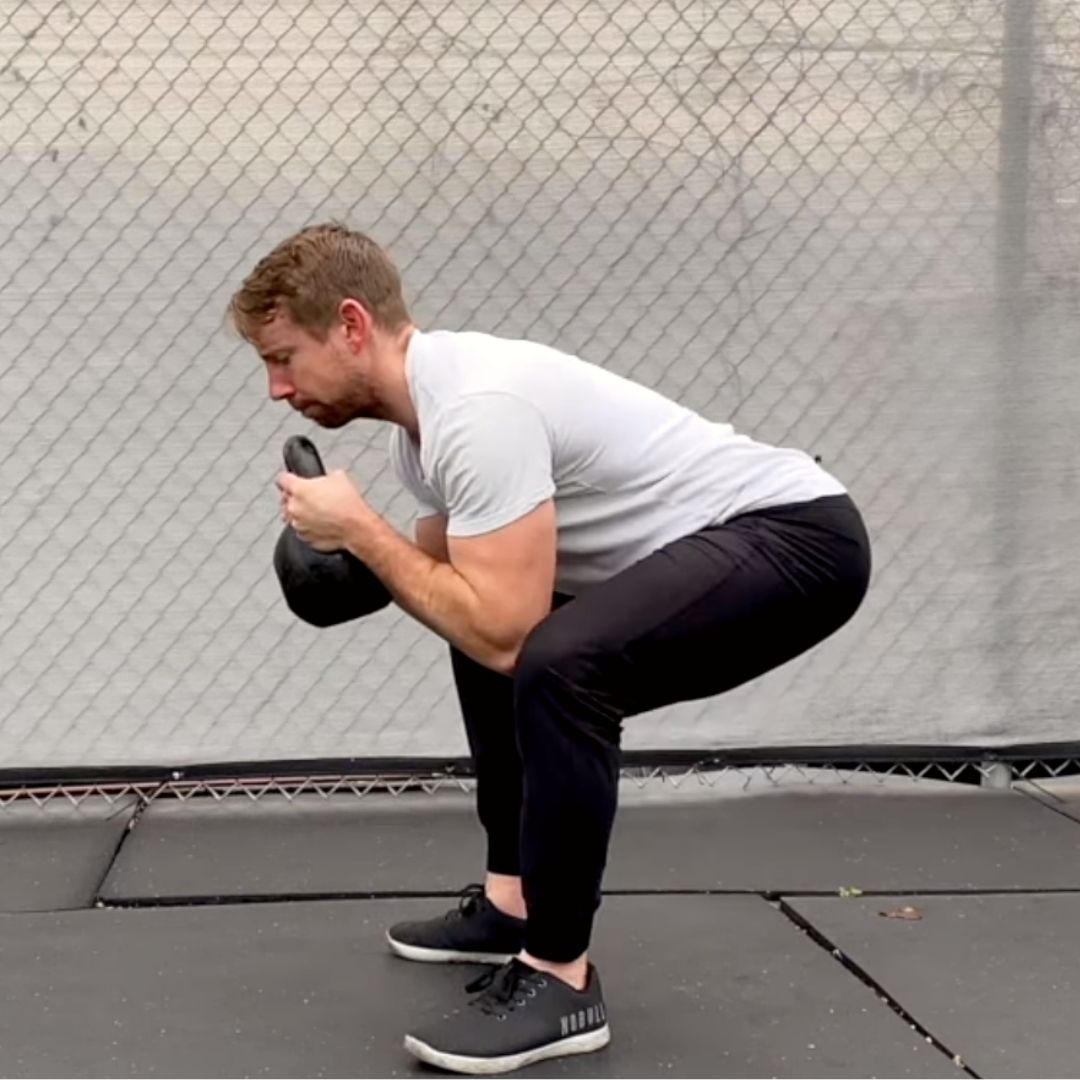
- Simultaneously bend at the hips and knees.
- Keep the chest up and remember to actively pull yourself down into your deepest comfortable range of motion.
- Allow the elbows to slide just inside the knees. This should ensure your knees are tracking approximately with the middle toes.
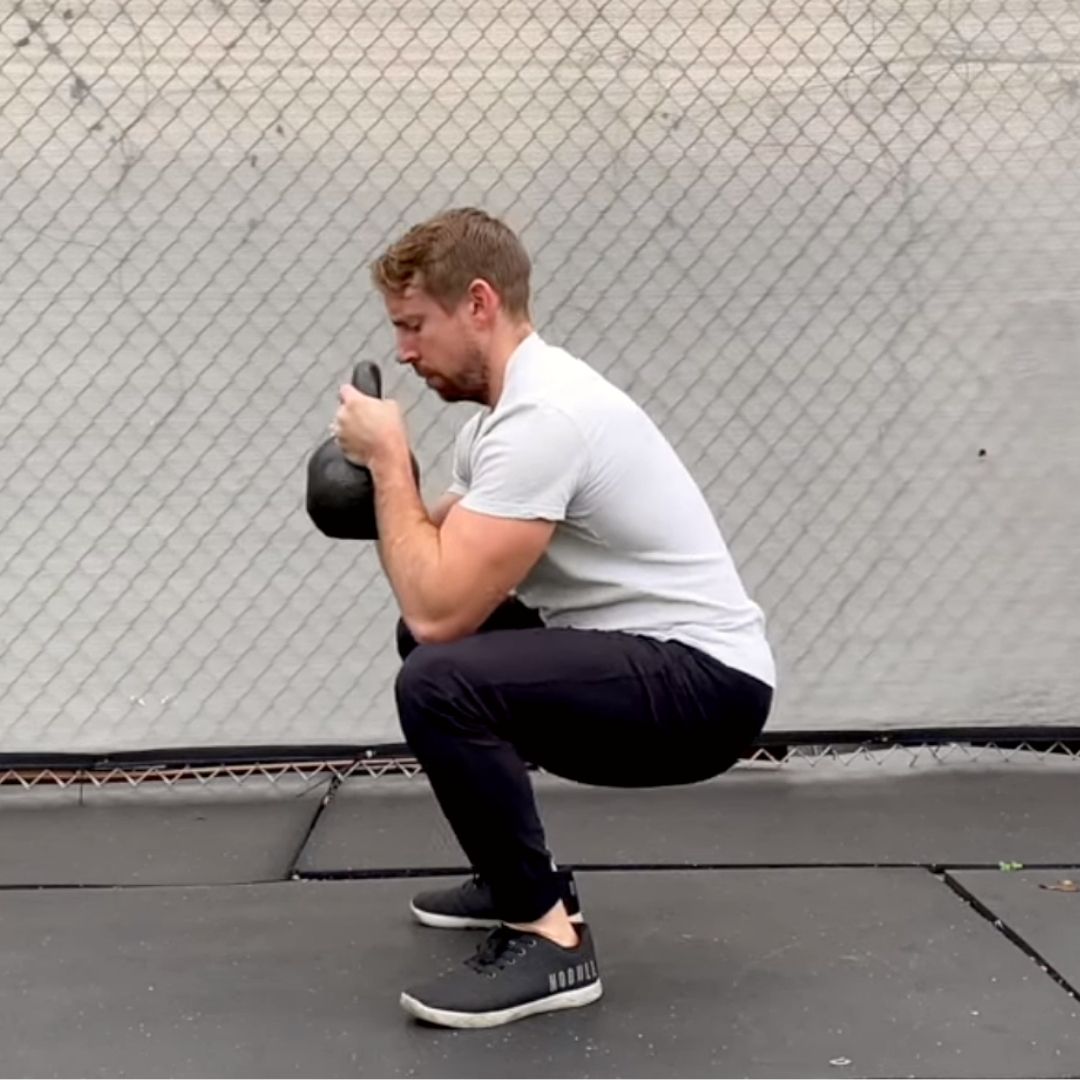
- Keep the spine long and straight at the bottom and double check your mid-foot balance – the big toe, pinky toe, and heel should all feel equally loaded.
- Start the ascent with a grunt to pressurize the core and exhale through to the lockout.
- Squeeze the glutes and finish tall.
The goblet squat is simple as that.
Goblet Squat Grip Options
I’ve been demonstrating the standard horn grip so far, but there are two other grips you can use for the goblet squat.
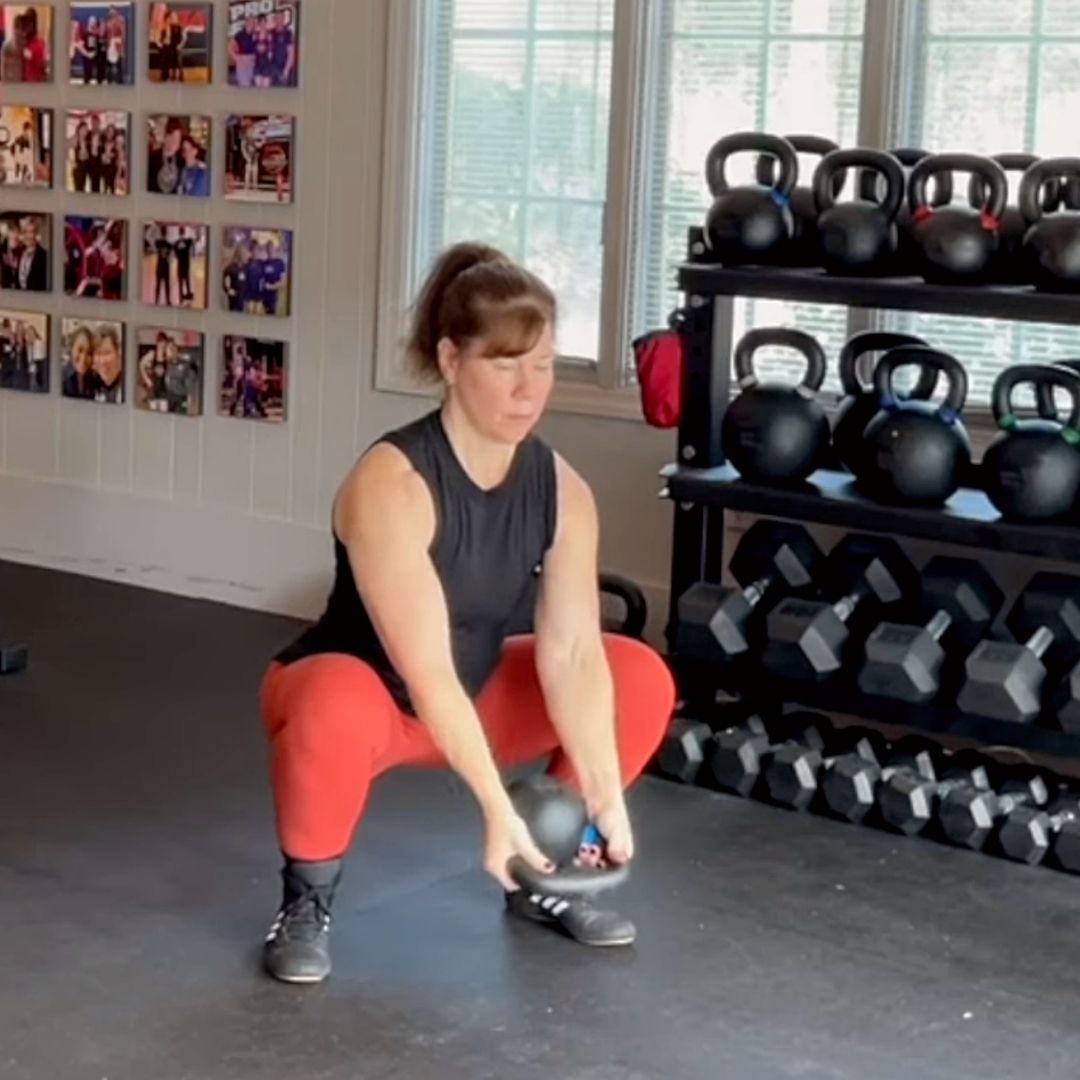
First is the “belly” hold.

Tip the kettlebell upside down and grasp around the side so the handle falls between your hands. This grip is particularly useful with competition kettlebells that have straighter horns.
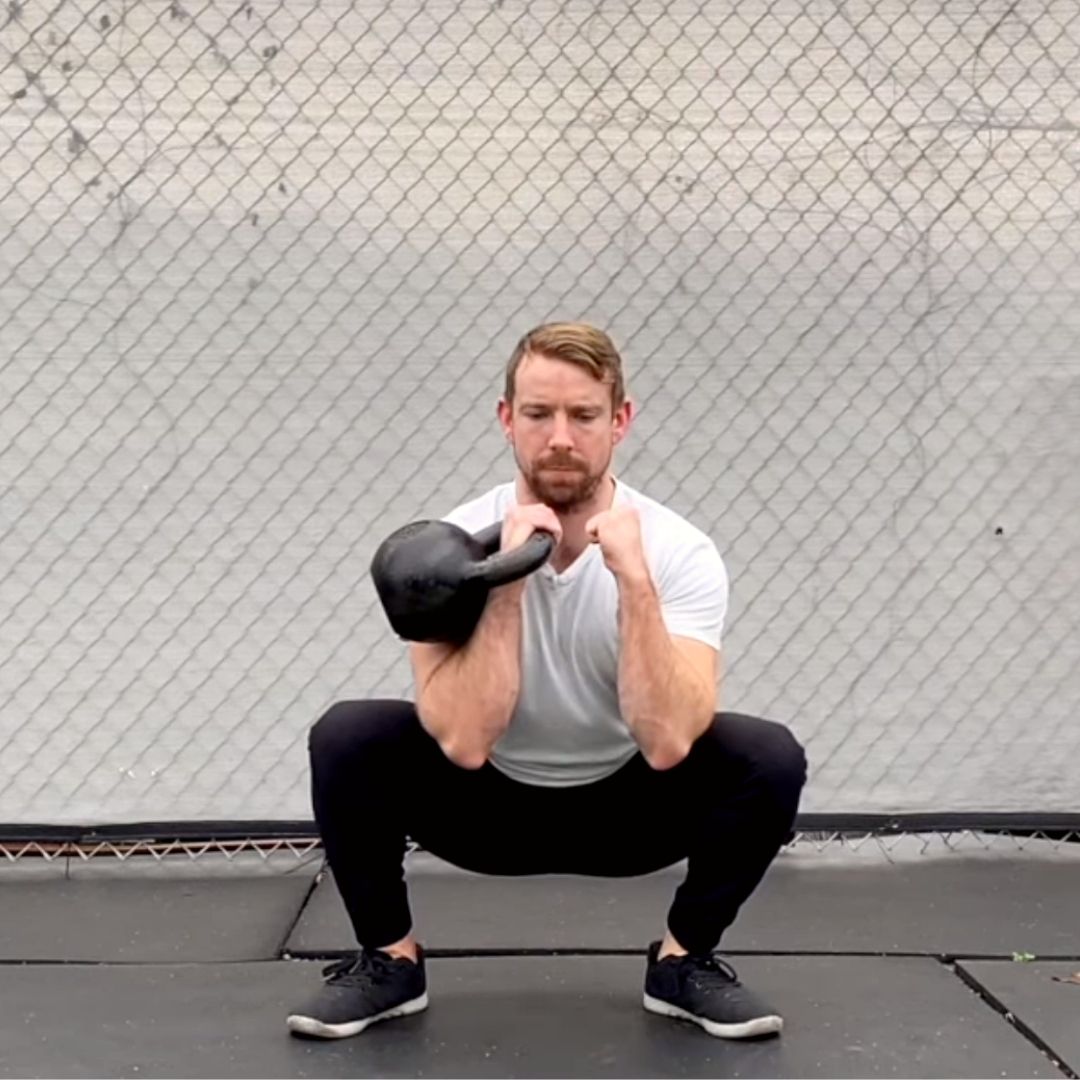
The next grip splits the difference and has you holding the belly while hooking your thumbs through the inside of the horns.
The handle will tilt slightly downwards and rest against the top of the chest. Crush the kettlebell, squeeze the pecs and lats, and keep your elbows driving in towards each other.
5 Common Goblet Squat Mistakes
Simple though it may be, there are plenty of technique errors that creep up in the goblet squat. The good news is that these mistakes are often easy to fix!
Mistake #1 – Folding the torso forward onto the thighs.
This often happens because the lifter is afraid of allowing the knees to move forward and assumes it to be a sign of bad form.
Actually, the squat requires a deep bend in both the knees and the hips, and that means the knees will need to travel slightly forwards toward the toes.
This is perfectly natural and necessary to target the right muscle groups.
Mistake #2 – Excessive low back rounding.
This is typically caused by not staying tight enough on the descent or by squatting too deep. Remember to actively pull yourself down and there’s nothing wrong with squatting to parallel (hips in-line with knees) even if you have the flexibility to go lower.
Mistake #3 – Rounding the upper back.

Keep the shoulders pulled down and back for a proud chest. You can even think about pulling the kettlebell handle apart to maintain this tension. Of course, you could simply be using a weight that’s a little too heavy.
Mistake #4 – The hips shoot back on the ascent.
Engage the quads and really focus on leading with the upper back and shoulders on the way up. Again, this could also be due to using a heavy weight that’s a bit too heavy.
Mistake #5 – Losing foot rootedness and allowing the heels to rise.

If all of your other technique points are solid, this is likely due to tight ankles. Be sure to make ankle mobility a priority in your training and in the meantime, feel free to elevate your heels with squat shoes or stand on a weight plate or books.
Kettlebell Squat Variations
The cool thing about using kettlebells in the squat is all the variations it allows us to perform.
Let’s start by taking a look at two ways to work deep hip mobility in the bottom of the squat.
First is the prying kettlebell squat where you push the knees out with the elbows side to side to get a gentle stretch through the groin.
Next is adding a simple bicep curl. Be sure to maintain good posture and core stiffness.
Of course we can squat from the shoulder racked position as well. This requires strong kettlebell clean technique so be sure to check out that article if you haven’t already.
The single-racked kettlebell front squat, much like the single arm swing, develops core strength through its anti-rotation effect.
The double kettlebell front squat is a classic lift for building muscle and teaches you how to breathe under intense pressure and tension.

With any kettlebell front squat, be sure not to let the elbows flare out! Keep the shoulders packed down and really use your abs and breath to support the kettlebells.
Finally, here’s the bottoms-up kettlebell squat.
Holding the bell upside down requires tremendous grip, arm, and shoulder strength.
When we squat, we take the foundation out from under the grip, making the core, lats, and arms work even harder. This is a great technique for linking upper and lower body strength together through core stability.
In Conclusion
The Goblet Squat is one of the most useful and user-friendly exercises ever.
Rank beginners and hardcore lifting veterans alike will find a place in their training for the goblet squat.
Whether you’re warming up, working on hip flexibility, chasing a quad burn, or just building whole-body resiliency, the goblet squat gets the job done.