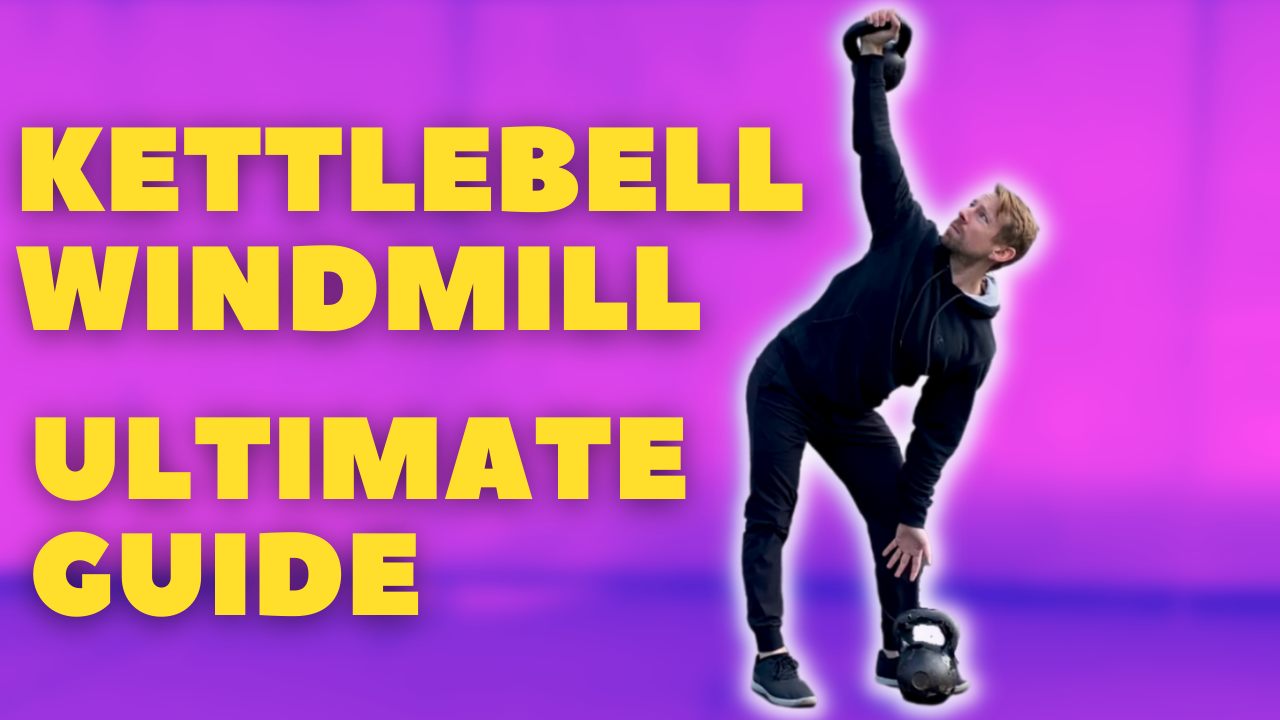
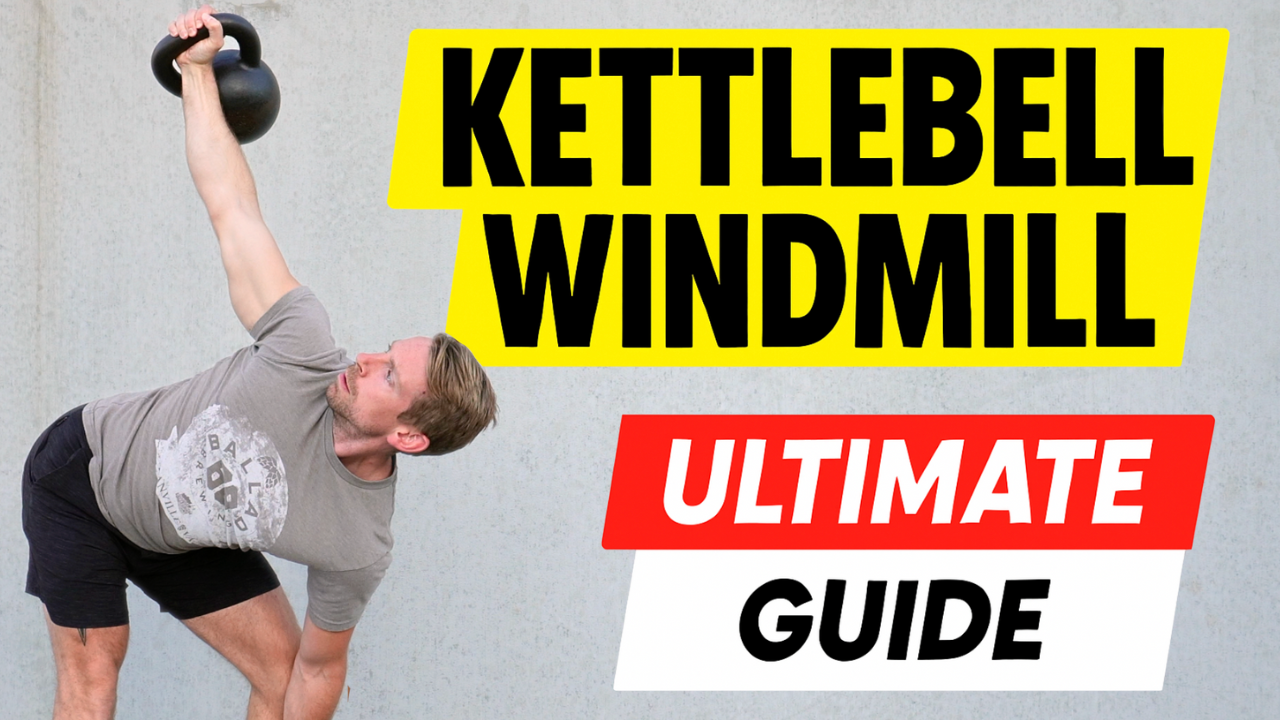
The kettlebell windmill is a classic strength/stretch lift that develops shoulder stability, core strength, and hip flexibility. Mastering the windmill will give you a powerful tool to strengthen your lats and obliques and boost the pliability of your posterior chain.
Most of us who train with kettlebells want strength AND flexility, big muscles with mobility to match, and a resilient body above all else.
Of course, the foundational kettlebell exercises bestow all of the above in spades.
The kettlebell windmill, in particular, is a great strength + stretch hybrid exercise.
Unfortunately, it is often misunderstood and poorly performed in the pursuit of those qualities.
Well, that stops right now because in this article, we’re going to clear the air on what the windmill is, what it is not, and how to perform the windmill with proper form in all its variations.
What Is the Kettlebell Windmill?
The windmill is fundamentally a combination of two movement patterns:
- Hip hinge
- Spine rotation
I consider the windmill to be a type of kickstand deadlift with extra complexity for the upper body. As with any other deadlift, the goal is to lift with the hips while keeping the spine neutral and stable.
Much like the Turkish get-up, the windmill is typically loaded with a kettlebell held in a static overhead position.
You’ll be moving your body under and around the kettlebell, requiring much strength and mobility surrounding the shoulder girdle.
The windmill is not a side bend or weighted triangle pose.
The goal is not to reach the floor or stretch the side body.
Sure, the windmill may look like a fancy toe-touch, but there are many subtle strength techniques at play.
The Kettlebell Windmill: Muscles Worked
As a total-body lift, the kettlebell windmill works practically every muscle in your body to some degree.
We’ve already established the windmill as a hip hinge exercise. That means we’re going to call upon the posterior chain muscle groups of the hamstrings, glutes, and spinal erectors to do the heavy lifting.
The diagonal hip hinge angle of the windmill will also provide a unique stretch for the hip rotators – specifically the piriformis.
Because the windmill has a major balance component, you’ll get extra stability work through the feet, ankles, and knees as well.
Moving up to the torso, practically every muscle in your core, upper back, and arms will need to fire to stabilize your spinal position and the kettlebell.
Most of your mental focus will need to center on two muscle groups – the lats and the obliques.
Together, these muscles make up most of your lateral chain or side body. Strong lats and obliques work together to coordinate and stabilize the shoulders and hips.
During the windmill, you’ll need to engage these muscles to support the spine (resist flexion) and effectively load the hips.
Taken together, this is what makes the windmill such a cool lift – it’s essentially a combination of a single-leg deadlift, a side plank, and press.

Hopefully now you can see why it’s more than just a fancy toe touch!
Kettlebell Windmill Form
Let’s learn the windmill from the bottom up by working through the 6 main variations:
- Kneeling: No weight
- Kneeling: Weighted
- Standing: No weight
- Standing: Bottom-loaded
- Standing: Top-loaded
- Standing: Double-loaded
The Kneeling Windmill

Begin in the 4-point kneeling position – your bottom hand, knee, and foot in a straight line. The top side foot is approximately perpendicular to the bottom mid-shin.
This is the same shape you see in the middle of a Turkish get-up.
Before any movement, take a moment to refine your positioning and engagement.
Actively push the ground away with your bottom hand and pull the shoulder down. Create space for your neck. Think about pulling the top side armpit towards the hip. This engages the lat and is a cue you should constantly refer to.
Push the butt back to the rear heel and shift your bodyweight from the bottom hand to the hips. Slowly pull the bottom hand off the ground. Simultaneously extend the hips and square your torso as your bring your eyes from the top hand to the horizon.
Reverse the movement by rotating the spine as you hinge the hips back and return your gaze to the top hand. Sweep the arm out to find the ground and rock back into your starting position. Double check the engagement of both lats and repeat.
When loading up with a kettlebell, you can get into position via the get-up or simply press the bell overhead from the upright half-kneeling position and windmill down from there.
Keep a firm grasp on the handle (this will help stabilize the shoulder) and watch out for a loose lat or the arm slipping into internal rotation. Remember to drive the armpit down and point the pinky towards the hip.
Start light!
The Standing Windmill (Unweighted)
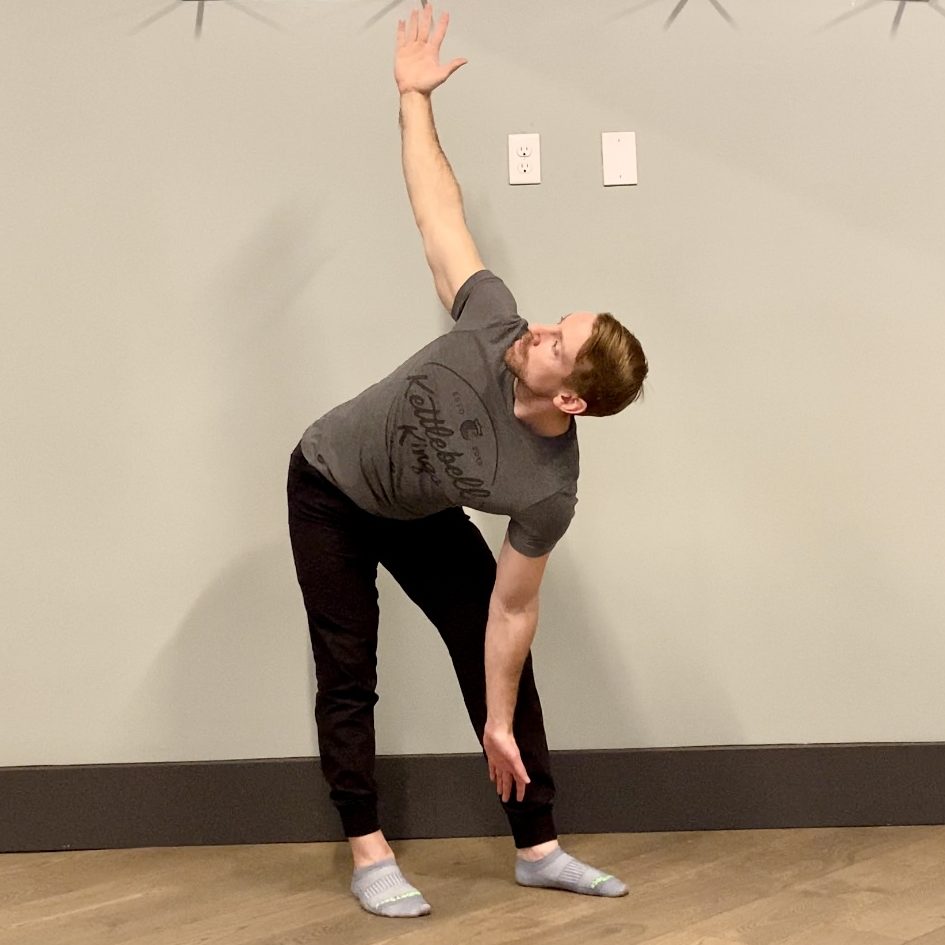
The torso rotation pattern remains the same but the stance and hip hinge gets a bit more complex on two feet.
Stand with the heels just outside hip-width (approximately at your single-arm swing stance). Press your imaginary kettlebell. Turn the feet about 30 to 45 degrees to the left if you’re lifting with the right arm.
The feet don’t necessarily have to be parallel.
Root hard into the ground with your right foot as you shift your weight onto the right hip. Settle on an approximate 80/20 weight distribution. I like to pump the left heel a few times to reinforce the weight shift and relax the left leg.
Begin to hinge into the right hip as your gaze turns to the top hand. Rotate as before and allow the torso to sink in concert with the depth of the hip hinge. Really drive the hip diagonally back, staying strong and straight through the right leg and soft and slightly bent with the left.
The left arm can slide down the inside of the left leg providing guidance and support.
The hip hinge and the spine rotation work in concert together like connected gears. You’re searching for a sweet spot where you feel one or both are about to reach their limit. This will obviously look different for every person.
Maintaining control and appropriate tension, hold this sweet spot for a breath or two before driving back up to standing with a strong glute squeeze.
Again, practice this pattern without weight until you’re confident with your alignment, muscular engagement, and breathing.
The Bottom-Loaded Windmill
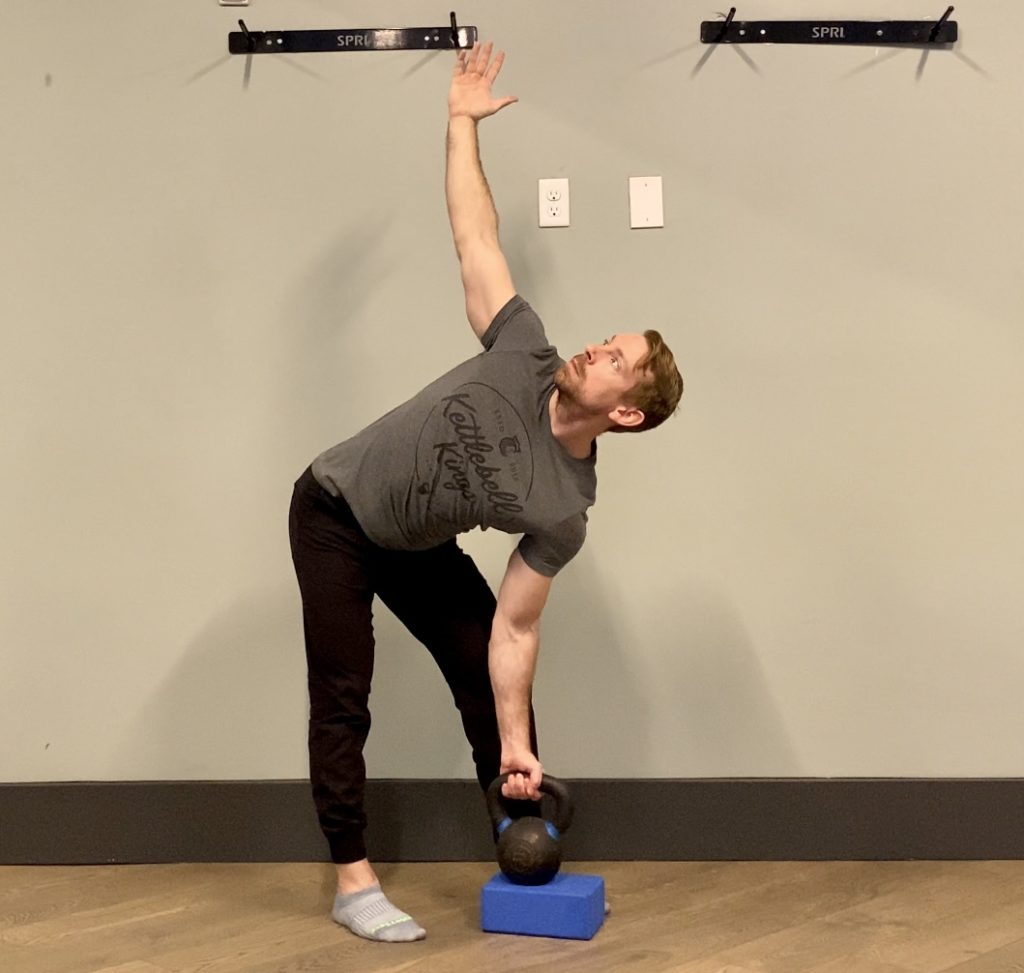
I’ve already mentioned that you can think of the windmill as a kind of kickstand deadlift, so when it comes to adding weight, I like to start with the bottom-loaded windmill where we’ll actually be picking a kettlebell off the floor.
Place a light kettlebell just to the inside of the soft-side foot. Orient the handle to be in line with the foot angle.
Perform the windmill as before and this time grasp the kettlebell with the lower arm in external rotation – wrists facing out, broad chest, and lat tight.
Squeeze and drive back up to standing with the bell. Pump the soft side leg to reinforce the weight shift.
Return the kettlebell to the floor with the same windmill pattern.
Like any deadlift, the kettlebell can be elevated in order accommodate the mobility needs of the lifter.
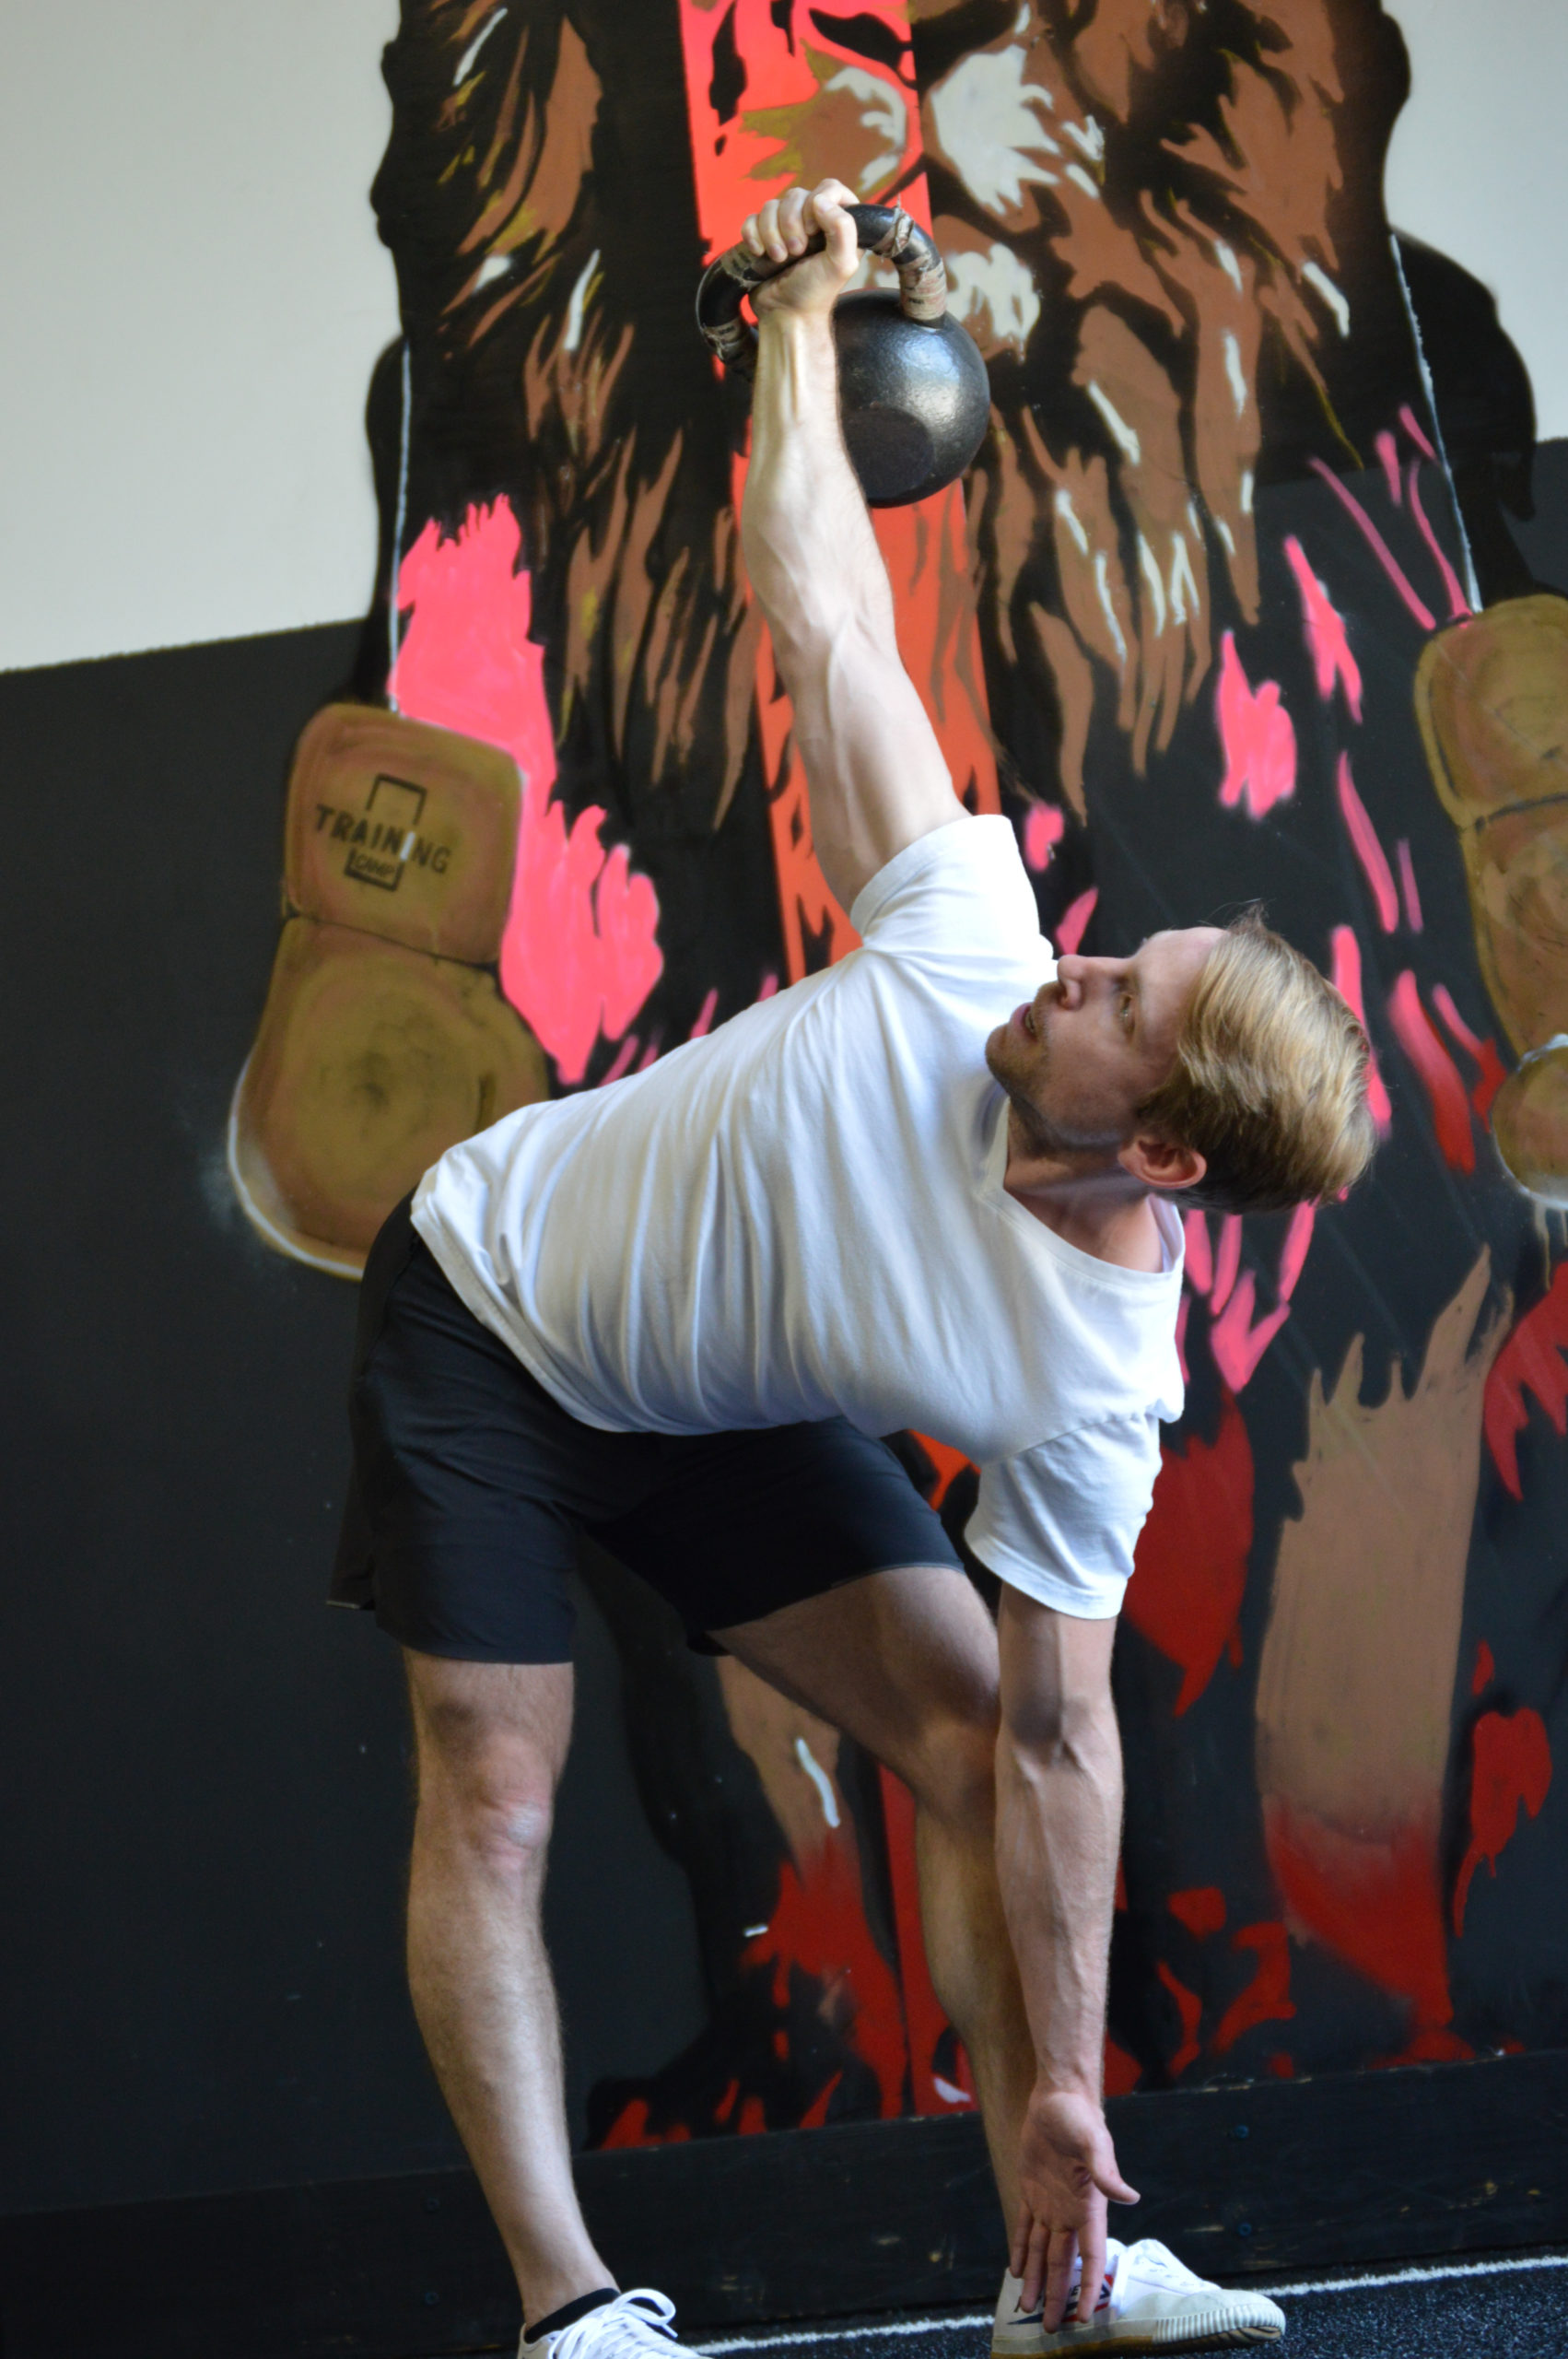
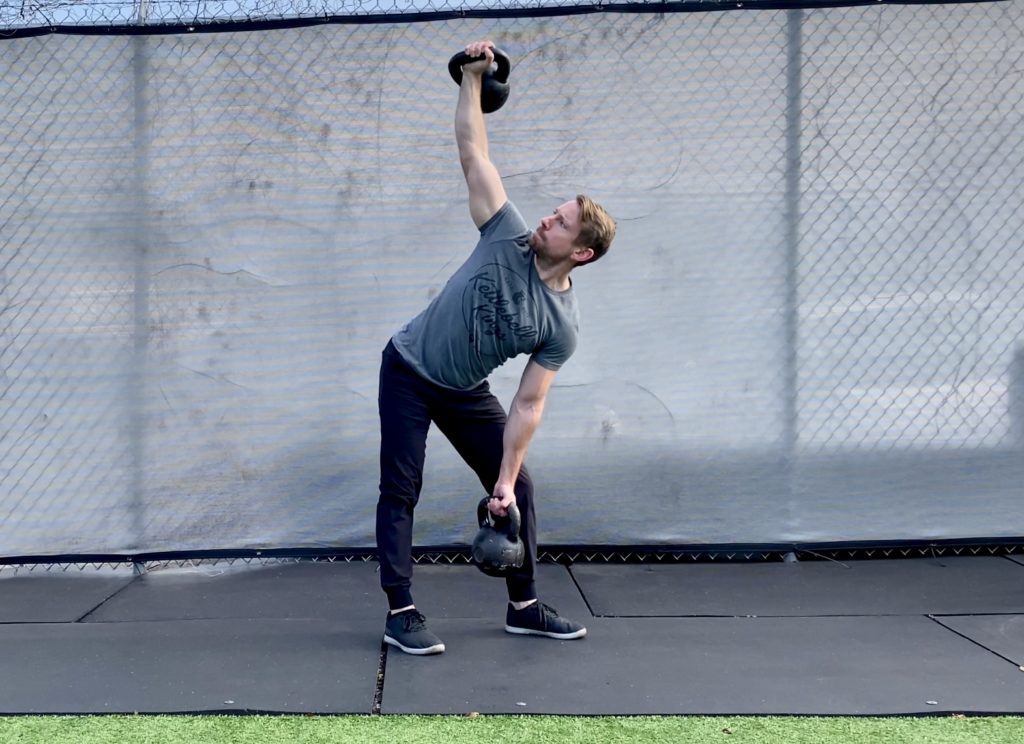
The Overhead Windmill
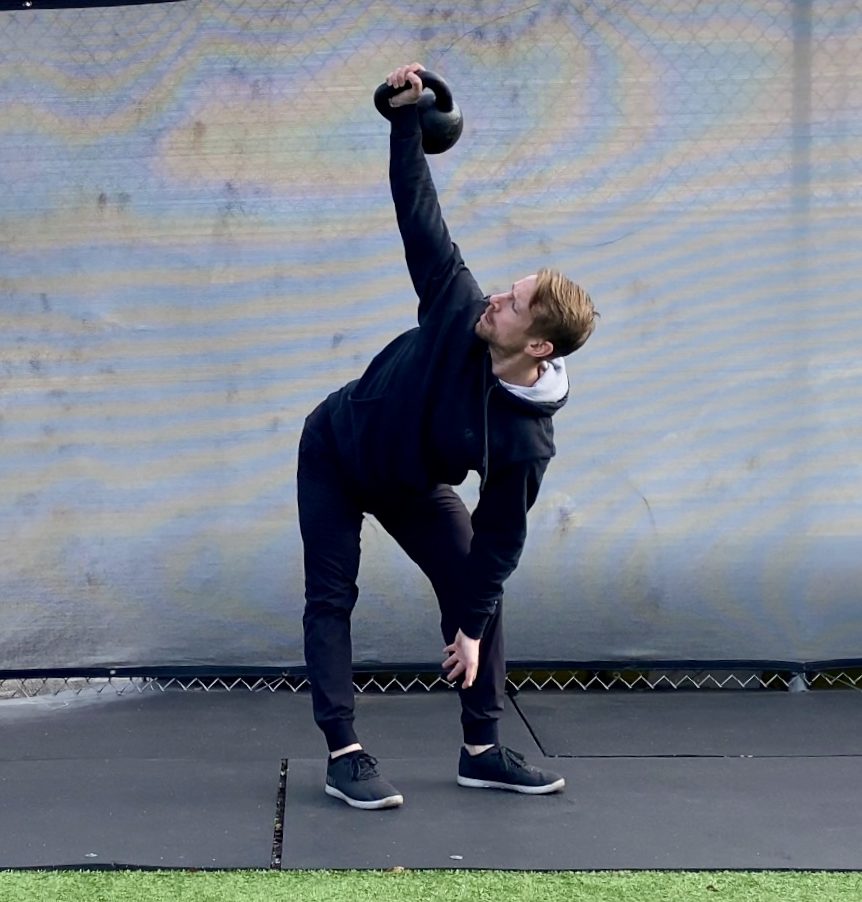
Once you’ve gotten the hang of the bottom-loaded version, we’ll move into the traditional overhead windmill.
First things first – be mindful of how you get the kettlebell overhead in the first place!
I usually clean and press the kettlebell, being sure to focus on the zip-up technique and lat engagement to set the best foundation.
If you haven’t already, be sure to check out both my kettlebell clean and military press tutorials.
Once the bell is secure in the lockout, turn the feet and begin the weight shift.
Really think about creating a solid column of strength from the bell through the arm, down into the shoulder, lat, oblique, glute, leg, and heel.
As you begin the hinge and rotation, think about smoothly transferring the weight of the kettlebell from the delts to the lat. Again, as you settle into your sweet spot, really focus on driving the armpit down towards the hip.
As you drive up, imagine settling the arm back down into socket like a deep post into firm ground.
Again, don’t worry about depth here. The addition of the overhead kettlebell adds a whole new level of complexity and should really light up your core and lat.
Don’t be surprised or discouraged if your range of motion needs to shorten up a bit. The goal is controlling these many lines of tension, not hitting a maximal stretch.
I demonstrated the windmill with a low reaching bottom arm, but there are two other options for you to try.
The first is to bend the elbow and sandwich the forearm into the hip crease. This can simultaneously encourage a deeper hip hinge and provides some extra support for the bottom oblique.
For an extra challenge, you can hide the arm behind the back. Only try this unweighted or with a light kettlebell.
The Double-Loaded Windmill
Finally, we can combine both the top and bottom windmill into the double-loaded windmill.
Get your overhead position settled first before stepping up to the bottom kettlebell.
All the same technique points apply. Just be sure to start out light on both ends and double check your points of engagement.
Over time, you can gradually increase the deadlift weight but be sure not to lose the integrity of the spinal alignment and control of the top arm.
Whether you’re performing the windmill pattern with a couple of hefty kettlebells or just your own bodyweight, it remains one of the best strength/stretch combo exercises around.
How To Program The Kettlebell Windmill
So how do you integrate the windmill into your training?
Start by including it towards the end of your warm-up and movement prep sequence. Once your body temperature is up and you’ve done some basic joint mobility, the windmill can start to bridge the gap towards loaded, higher tension movements.
Personally, I almost always hit 5 minutes of swings, goblet squats, halos, and windmills before my main training session of the day.
Try a few windmills after a hard swing or deadlift session to stretch out the hips.
Powerlifters and anyone who trains the bench press will get a ton of benefit from opening the chest and t-spine in the context of really working the lat. Plus, you get to break out of the sagittal plane and work with unfamiliar angles.
It’s a classic addition to the top of the Turkish Get-Up and a valuable progression towards the bent press.
Keep the reps low – 3 to 5 per side should do the trick.
As with any overhead lift, be extra careful when you’re physically or mentally fatigued.
Oh, and keep the weight on the lighter side. There’s no reason to windmill a kettlebell heavier than your 5RM press weight.
Any way you cut it, performing the windmill on a regular basis will keep you strong and supple where you need it most.
Want a step-by-step guide to lifting kettlebells like a pro?
My new training manual and program is available now – Kettlebell Foundations cuts through the noise to deliver a clear process for getting everything you want out of your kettlebell training.
You’ll develop useful lifting skills and get surprisingly stronger along the way.
Just click here.