As lifters, we want shoulders that are both muscular and mobile, strong and stable. Whether you want a V-taper physique or the strength to hoist heavy iron with ease, you have to be a serious student of the military press.
The military press reigns supreme as king of the upper body lifts. It’s a classic, no-frills show of brute strength expressed through the shoulders.
The kettlebell military press, in particular, is a powerful press option and, like all kettlebell exercises, it offers some unique benefits and variations.
What is a kettlebell military press?
The general standards for a military press include lifting a weight from the shoulders to an overhead straight-arm lockout while keeping strict posture – no momentum from the legs and minimal leaning from the torso.
Some classic training methods even call for both heels to remain in contact with each other in traditional military attention stance.
The kettlebell military press is most often performed with a single bell, one side at a time. The double kettlebell military press is a great option once the technique has been mastered with one bell.
Overhead pressing is a rare thing these days. The barbell military press was removed as a contested Olympic lift in the 1970’s just as powerlifting began its rise in popularity.
Today the bench press is the most popular upper body exercise in the world and there’s no wonder why – the bench press is easier to learn and allows lifters to work with much greater poundages compared to the military press.
Why, then, bother with a standing press?
Simply, it’s a mighty full-body functional lift disguised as a mere shoulder exercise.
Let’s take a closer look.
What Muscles Do the Kettlebell Press Work?
Nothing works the upper-body musculature quite like a kettlebell military press.
The prime movers in the press include the delts, triceps, upper pecs, and traps…
*Cue infomercial voice*
But wait, there’s more!
The magic of the overhead press is found at the top, where the kettlebell is held motionless by the pressed-out arm. At this point, you’ve moved a weight as far from the ground (and your own center of gravity) as possible.
The press lockout position creates a demand for stability through the entire body.
The press may be a shoulder exercise on paper, but in practice the quads, glutes, abs, lats, feet, and even the non-working arm (in the case of the 1-arm press) play important roles as stabilizers.
But don’t think for a second that providing stability is an easy job for these muscles. In fact, preventing movement through the body can be just as hard as creating it.
In this way, the kettlebell military press works you from head to toe.
Kettlebell Press Form
Every strong kettlebell press starts with a strong kettlebell clean.
The clean is how we get the kettlebell from the ground to the shoulder rack position. When performed correctly, the clean primes the body and allows you to press with ease.
> Click here for my full kettlebell clean guide. <
Assuming your clean technique is in place, let’s examine the press itself in 4 main steps – the “zip up,” press, lockout, and negative.
Step 1 – “Zip-Up”
Remember how I said the kettlebell press is a full-body lift? Here’s why.
The “zip-up” technique engages every muscle group from the feet to the shoulders in a sequential order to create the most stable base from which to press from.
This set-up is nearly invisible to the outside eye and yet is the most important step for both safety and maximizing strength.
Here’s how to do it:
- Grip the ground with your toes while keeping “tripod” foot balance
- Flex the quads (think about pulling your kneecaps up)
- Squeeze the glutes (pinch a penny with the cheeks)
- Brace the abs (as if for a punch)
- Tighten the pec and the lat (smash the armpit)
At this point, you’re locked, loaded, and ready to blast the kettlebell skyward.
At first, all these cues may slow you down and make the press feel unnecessarily difficult. Bear in mind you don’t have to engage with 100% intensity – enough is enough. With practice, you’ll be able to run through this internal sequence in less than a second to preserve energy and maximize efficiency.
Another fun way to practice this idea of total-body tension is with the tug-of-war plank:
Step 2 – Press
The very last cue in the zip-up sequence also initiates the press movement:
Squeeze the kettlebell handle hard and begin to press the weight.
Don’t try to press too fast right at the start. The press begins with a slow “first gear” grind and picks up speed along the way – like a rocket or car driving uphill.
Your pressing arm will naturally arc out to the side a bit as you pass head height. The forearm should remain vertical to the ground but don’t try to press in a perfectly vertical line. As you approach lockout, the arm will drift back towards the head.
Press against the kettlebell with smooth, even force while maintaining the total-body tightness you achieved in step 1.
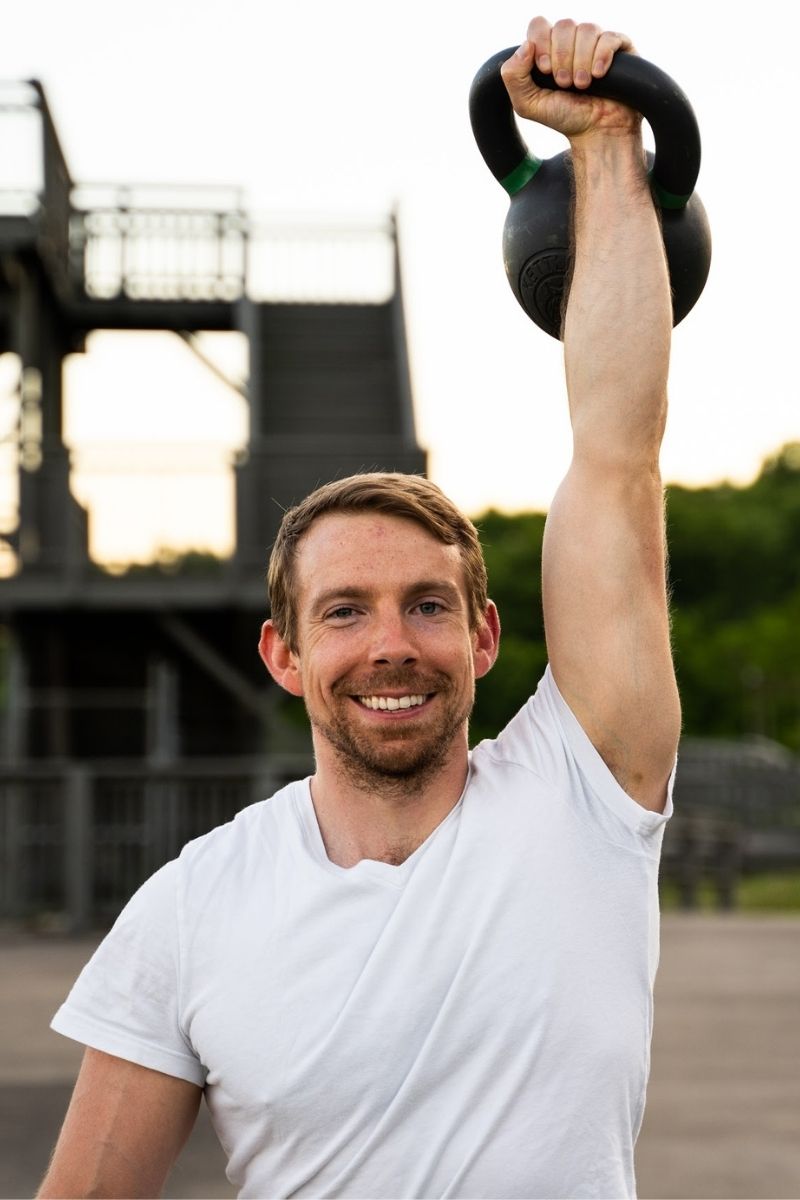
Step 3 – Lockout
Keep driving the knuckles skyward until the elbow locks out straight.
The arm should settle with the bicep lining up next to the ear.
Pause for a few seconds to ensure the arm is stacked and balanced. Actively engage the triceps to keep a straight elbow.
You can loosen the grip here with sub-maximal weights.
Step 4 – The Negative
How you bring the kettlebell down is just as important as how you put it up.
Like the deadlift, the first rep of a press feels extra tough because it is not preceded by an eccentric (lowering) motion. Once we’ve performed the first press, however, we can use an active negative to boost strength and power.
Supercharge your press by “pulling” the kettlebell down under control – the biceps, triceps, lats, and delts co-contract in order to wind up for the next rep. Think of this as another application of the zip-up technique where we gather muscular tension to launch into the next movement.
Surrender to gravity and the bell simply plummets back to your shoulder. Not only is this obviously dangerous, but you also lose an opportunity to squeeze a bigger training effect from each rep.
3 More Kettlebell Press Tips
Before we move on from our examination of kettlebell press form, let’s briefly address a few more subtle details to fine-tune your technique.
Note that these are not hard rules, just good places to start and ideas to experiment with.
Foot Stance
All that total body tension relies on how you root through the feet.
We know the kettlebell press begins with a clean. The clean requires a somewhat wide sumo stance to allow the bell to travel in a swing between the legs.
This stance is often a bit too wide for the press because it compromises the stability we would otherwise get from the legs and hips.
I recommend performing the clean and then narrowing the foot stance to hip-width (give or take a couple inches).
Just like with the squat or deadlift, experiment to find the foot width and angles of turnout that work best for you.
Breathing
The breath can have a huge impact on lifting performance, especially under heavy weights.
Here are some breathing guidelines for the press:
Breathe in through the nose during the zip-up sequence and hold while bracing the abs as you begin the press.
The exhalation will depend on the weight or level of exertion you’re using on the given rep.
- For easy reps, I suggest a smooth nasal exhalation through the press up.
- For more challenging reps, try a more forceful exhalation through the mouth as if you’re blowing out candles.
- For heavy weights or squeezing out the last rep on a hard set, try a power exhalation through the slowest sticking point in the press – make a “tssssst” sound with the tongue on the roof of the mouth.
No matter how tough it was getting the kettlebell up, pause for a few seconds at the lockout to take an extra breath at your leisure.
Inhale again through the nose and hold during the negative to maintain a strong abdominal brace.
Eye Position
Like breathing, strategic eye and head position can boost your performance.
Here are some eye position guidelines for the press:
- For easy reps, just keep your head neutral and look straight ahead or slightly up.
- For more challenging reps, you can utilize the flexion/extension reflexes to help your press.
As a general rule, looking down promotes a flexion response while looking up does the same for extension. As it applies to the press, a downward gaze boosts your shoulder flexion strength (as the weight moves off the shoulder) and an upward gaze drives extension (helping plow through sticking points to the lockout).
An easy way to take advantage of these reflexes with appropriate timing is to simply keep your eyes on the kettlebell during the press.
Upon lock out, return to a neutral gaze and stay there until the bell is back in the rack.
Mobility for the Kettlebell Press
Allow me to state the obvious – the overhead press requires the ability to move your arm(s) straight overhead without restriction or compensation.
We’re not just talking about shoulder mobility either, but rather how the hips, core, spine, and shoulders work together with the right mix of flexibility and strength to press a weight overhead.
Between racking up hours of sedentary desk work and hard physical training, most of us deal with some amount of hip and shoulder tightness. Just a little warm-up and prep work can go a long way towards shaking off the rust.
A full deep-dive into mobility training is beyond the scope of this article, but these exercises are all but guaranteed to greatly improve your pressing mechanics.
Half-Kneeling Band Dislocates and Around-The-Worlds
These circle patterns have long been used by Olympic weightlifters to loosen up the shoulders. Pulling out against the band turns this into an active stretch, requiring strength in awkward positions.
The half-kneeling position also gives you a great hip flexor and quad stretch. Keep the glutes tight with a slight tailbone tuck.
Perform 3-5 dislocates and circles in each direction on each knee.
Side Plank Sweeps
Strong shoulders can only exist on top of a strong core. Remember the synergy that comes with every muscle group supporting its neighbors?
The obliques run along the side body and, together with the lats, provide our lateral stability and support upright posture. Waking up the obliques with a side plank is a simple way to boost shoulder function.
In this variation, we add sweeps with the top arm in two directions (up/down, forwards/back) to integrate shoulder movement alongside isometric tension. Keep the neck relaxed and the downside lat tight. Start by moving your arms with no weight before graduating to a small plate or dumbbell.
Try 5 sweeps each way on each side.
Weighted Dead Bugs
The classic dead bug is great way to train the integration of shoulder movement with core stability. Of course, there’s the added benefit of coordinating with the hips as well.
Like the side plank variation above, focus on keeping a stiff core to prevent unnecessary spine movement while dynamically moving the limbs. Maintain nasal breathing and a relaxed face.
Try this with bent knee floor taps at first if you feel it in the low back. Use small weight plates or dumbbells – just a few pounds can be quite challenging at the end of a long arm lever.
Set a timer for 1 minute and move at your own pace.
The Brettzel Stretch
This is my all-time favorite stretch and it saved my butt after a major shoulder tweak.
Much like our first opener, this drill hits the shoulders and the hips simultaneously.
The Brettzel boosts shoulder mobility not just by stretching out the pecs and biceps, but through thoracic spine rotation.
Our shoulder blades live in the t-spine (upper back) area. Naturally, if the t-spine is stiff and immobile, the shoulders are doomed to the same.
Hold each side for 2-3 minutes – relax the shoulders down to the ground with each long exhale.
What all of these mobility drills have in common is a focus on controlling shoulder movement in concert with the rest of the body. And that’s what the press is all about.
Top Kettlebell Press Variations
Once you master the standard 1-arm military press described above, use these variations to explore and progress with your pressing strength.
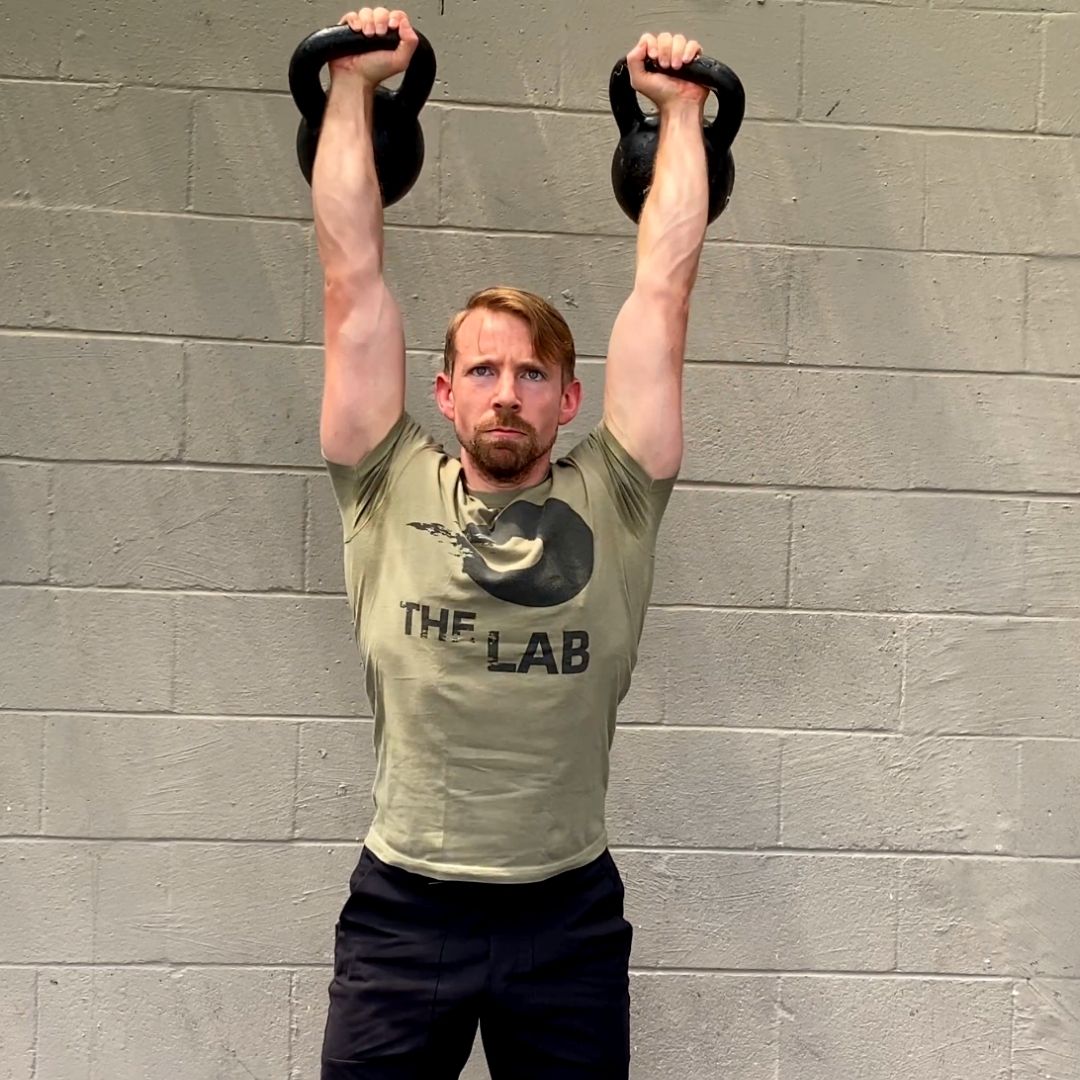
The Double Kettlebell Press
All the same clean and press techniques apply when using double bells.
Note that pressing two bells at once will eliminate the subtle side lean you enjoy when pressing one bell at a time. Though you may lean back slightly, the double press requires more mobility through both shoulders.
The See-Saw Press
This double kettlebell press variation involves equal but opposite movement through the arms.
Begin by cleaning two kettlebells and press just one overhead. As the top arm comes down, begin to press up with the other. Move each arm at the same slow, controlled speed and they should meet at the same level right around the top of the head.
The Bottoms-Up Kettlebell Press
My very favorite kettlebell exercise is the “bottoms-up” press. Instead of having the kettlebell rest on the back of the arm, the bell is held upside-down with the bottom base facing skyward.
The BU press creates extra long leverage with the weight and introduces a balance component into the press. These things taken together require more grip strength and rotator cuff stability than a traditional press.
The Suitcase Press
A fun way to progress the 1-arm press is to give the non-pressing hand something to do.
With this variation, you’ll press as usual while holding another kettlebell, usually heavier, down by your side. The extra weight will challenge your core stability and shoulder independence.
Clean your press bell before carefully deadlifting the other. Elevating the suitcase side makes this easier.
The Liberty Press
In the same vein as the suitcase press, here you will hold a kettlebell statically overhead with one arm while dynamically pressing with the other.
Clean two kettlebells, press one side up and hold it there. Really focus on keeping that arm straight with hard triceps. Press with the other side for reps as usual.
Keep both weights light when you first try this variation as your stabilizers will fatigue quickly here.
Over time, you can progress to statically holding an even heavier weight than your pressing side.
The Half-Kneeling Kettlebell Press
We know that as a full-body lift, the press begins with the feet. Your sense of stability and balance against the ground influences everything up the kinetic chain.
It’s for this simple reason that any change in lower body position changes the press itself. When we go from a standing to a kneeling position, we compromise much of that lower body stability and thus increase the demands on the glutes and core.
The single-arm version can be performed with either arm, but is traditionally trained on the high-knee side for direct carry over to the Turkish get-up.
The Kettlebell Z-Press
Here we take the legs completely out of the equation by sitting directly on the ground in a wide split stance.
Keep the glutes and abs tight to support an upright posture and resist any lean-back.
As you can tell, the kettlebell press can be performed in dozens of ways. In fact, the overhead press offers more variation than any other primary lift.
Explore these main variants to creatively progress your training while getting maximal use out of every bell in your collection.
Also consider all the ways these ideas can be combined…
Half-kneeling liberty press…
See-saw Z-Press press…
Bottoms-up suitcase press…
Sure, some of these border on circus tricks and too much variation can be an impediment to actually getting stronger. Remember – variation is the spice, not the main dish.
Use these ideas to occasionally test yourself for gaps in mobility and motor control.
How to Program the Kettlebell Press
The military press is a fickle lift.
In my work with clients, I’ve seen press strength vary wildly from week to week and even day to day.
Sometimes a big kettlebell floats like a balloon…
Sometimes your warm-ups feel glued to your shoulder.
As mentioned above, the prime movers of the press are relatively small muscle groups that depend on the rest of the body and the state of the nervous system to express their full strength.
Anything from a bad night’s sleep to sore legs can have a big effect on your press performance.
That’s why it’s so important to be flexible with your press training.
In my approach to press programming, this means two things:
1) Leaving options to perform more or less work depending on feel
2) Rarely exceeding 80% effort
Here are a few examples:
The “Grease The Groove” Program
The GTG approach eschews traditional workouts for “easy” training reps performed with high frequency, often throughout the day.
By minimizing muscle fatigue while maximizing training volume (number of reps), you’ll enjoy steady progress that will plow through almost any roadblock in strength. The key is consistency and patience.
The first and most important rule of GTG is staying fresh.
If the weight feels heavy or the lift speed slows to a hard grind, you’re done. The goal is to rack up lots of smooth, easy-ish reps over a period of days and weeks, NOT in a single workout.
As an example, you might take a 5RM kettlebell and press it for 1-3 reps every hour on the hour for 5-8 total sets, 5 days a week.
This is a fantastic training method if you have all-day access to your kettlebells.
The Ladder Cycle
The ladder approach allows you to get lots of quality training reps in while keeping muscular fatigue in check.
Each “rung” on the ladder represents a number of reps, usually between 1 and 5. As you progress up the ladder (and repeat the ladder itself) you’ll go through a variety of rep ranges – some will challenge you and some will feel like easy bonus reps.
This is the essence of “wavy” training and is a proven tactic for big strength gains.
Here’s a simple example:
(1, 2, 3) clean & press ladder x 3 rounds
Translated:
Clean & press 1 rep left, 1 rep right
Clean & press 2 reps left, 2 reps right
Clean & press 3 reps left, 3 reps right
Rest and repeat for 2 more rounds
Of course, the kettlebell press can be programmed in a more straight ahead scheme like any other primary compound lift – 3 x 10, 5 x 5, etc.
Just keep in mind the nature of kettlebell size increments – to progress to the next sized kettlebell represents a huge jump in relative intensity, so it pays to really get everything you can out of a given kettlebell before increasing weight.
Conclusion
The kettlebell press is a demanding lift, requiring much practice and patience.
Taking the time to master this lift will fortify the entire body and pays off with well-defined shoulders that pack a punch.
Exploring the many press variations will unlock years’ worth of training progress and incorporating smart mobility work will keep those shoulder joints happy.
The press may be hard, but that’s part of what makes it worth pursuing. All the best in your training!