The kettlebell clean is a powerful full-body exercise that is notoriously difficult to learn. In this article, you’ll learn a fool-proof, step-by-step process to performing the kettlebell clean without banging up your forearms!
To some lifters, the clean is little more than the annoying step before a press. But to the real strength technician, the clean is a fundamental and valuable lift in its own right.
The kettlebell clean looks like a simple exercise, and it really is, but there are plenty of details to nail down before doing one safely and effectively.
Most kettlebellers have a hard time with the clean – often suffering bruised forearms, torn hands, and sore low backs from wrangling with an unforgiving kettlebell.
I’ll admit, the clean was by far the hardest exercise for me to learn when I first got into kettlebell training.
It’s tricky to coach too because, much like the swing, it’s a fast, ballistic exercise – you don’t have the luxury of slowing it down and picking it apart during the actual lift.
The learning sequence must be dialed in step-by-step in an order that allows you to safely practice the fundamental techniques and then combine those techniques so your clean comes together smoothly with minimal chance of injury.
In other words, so you can do a clean clean.
The purpose of the clean is to get the kettlebell into a secure rack position where it can then be pressed overhead or held in place for front squats and carries. A good clean is absolutely mandatory for a strong and safe military press – many presses fail not from a lack of pressing strength, but from a sloppy clean.
Plus, the clean itself is a wonderful lift – offering all the benefits of a swing with the added challenge of stopping and stabilizing the kettlebell with your upper body and core.
The kettlebell clean is where ballistic power meets isometric tension.
Prefer to follow along on video?
Just push play:
Let’s address 2 quick pre-requisite skills before jumping into the clean itself.
First, I recommend you have solid 1-arm swing strength and technique.
The hips power the weight in the clean… it’s not a bicep curl. Be sure you can comfortably swing your target clean weight (or heavier) up to chest height for 10 reps.
Second – get skilled with the bottoms-up clean.
The most important part of the clean is the ability to guide the kettlebell vertically while decelerating the momentum enough to have it land smoothly in the rack position.
The bottoms-up clean, done with a sufficiently light enough weight, allows you to practice the “zip up” technique without changing grips or worrying about the bell crashing into your arm.
Once we have those two skills in place, all we have to do is get familiar with the rack position and the nuances of switching between the “swing grip” (where the handle is held by the fingers) and the “clean grip” (where the handle rests deeper into the palm).
Let’s take a cue from Stephen Covey and The 7 Habits of Highly Effective People, and begin with the end in mind.
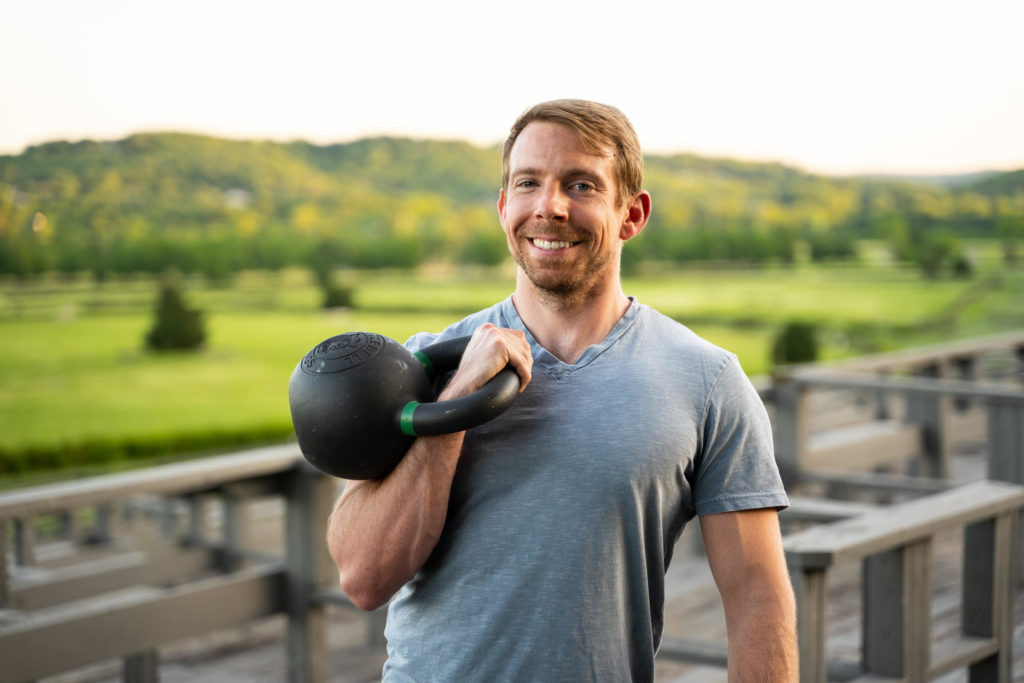
The Kettlebell Rack Position
The clean ends with the kettlebell in the rack position, so that’s where we’ll start.
Using two hands, “cheat clean” the kettlebell and nestle it like an iron dinosaur egg in the cradle of muscle formed by your bicep, delt, pec, and forearm.
Stand tall with your glutes and abs braced. Your lat and tricep should be squeezed and flexing into each other, forming a single “super muscle.” Keep the elbow down and forearm somewhat vertical. Don’t flare the arms. Instead, think about absorbing the weight into your entire body.
Using your other hand, move the bell around until you find a comfortable angle. The handle may be oriented more parallel to the knuckles in the center of the hand if you need to grip tight for strict presses or set at a deeper diagonal angle from the thumb webbing to the pinky-side heel of the palm.
Do not let the kettlebell put you in a wrist lock. Racking or pressing with a bent wrist is by far the most common kettlebell mistake I see.
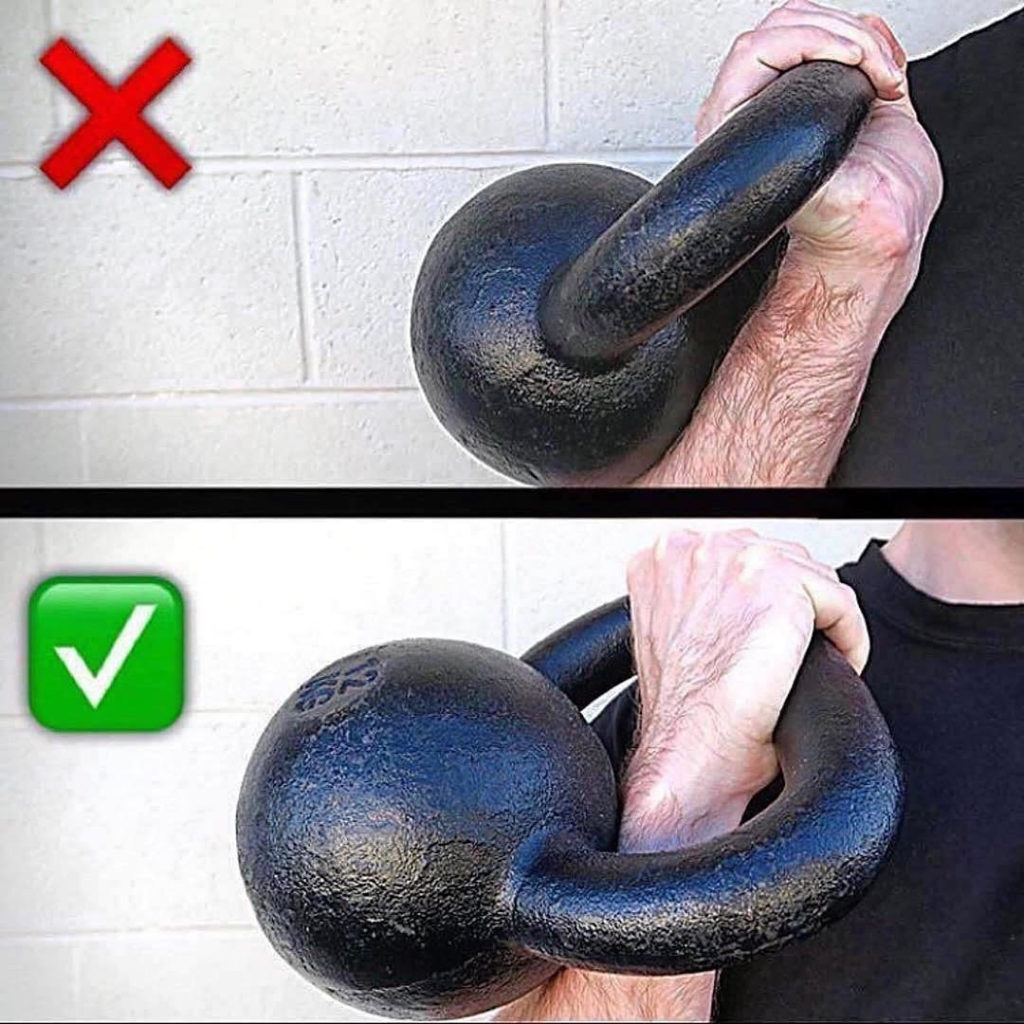
Keep the wrist completely straight or even slightly goose-necked.
With your rack position and body posture in place, take a mental note of how everything feels. You’ll attempt to recreate this feeling at the top of every clean rep.
Again – keep a tall posture supported by tight glutes and abs, the lats support the shoulder and arm, and the kettlebell is nestled in the muscle cradle.
The Clean Drop
Remember, we are working backward here so the next step to practice is the clean drop. The drop is where we release the bell from the rack and load it into the backswing, all while shifting our grip on the handle from the palm to the fingers.
Open your hand and guide the bell down the midline of the torso like you’re unzipping your jacket. Resist the urge to cast the bell away from you. Instead, keep the elbow squeezed into your side as if the lat and tricep are velcro’d together.
Remain standing tall until the handle falls below the bellybutton, at which point you can begin to hinge the hips and actively push the kettlebell into the backswing.
Until this point, the bell is in a controlled free-fall. Because you opened your hand at the top, you can now slide and re-grip the bell with the fingers in the same style you use for swings.
Don’t let the kettlebell yank you down into a squat. Really force the momentum backward in order to load the hamstrings.
From there, allow the arm to swing forward and set the bell down. Cheat clean the bell again and repeat this drill until you can quickly establish a strong rack position and smoothly drop into the backswing without pinching your calluses.
At this point, most of the hard work is done.
Once you’re familiar with the nuances of the rack, how to shift your grip, and how to load up the hamstrings, the rest of the clean will easily fall into place.
The Kettlebell Power Clean
To train the ability to quickly adopt the rack position without assistance from the free hand, we’ll do a power clean straight up from the ground.
Stand directly over the kettlebell or even slightly in front. Load the hip hinge as if for a deadlift. Quickly extend your hips and stand up straight, keeping the elbow close while guiding the bell into the rack. Drop the bell into the backswing as before and park it.
You’ll want to use a slightly lighter bell for this drill as you won’t quite be able to take full advantage of your hip power (when compared to the full backswing version coming next).
You can also elevate the bell to shorten the range of motion and prevent the need to squat in order to reach the handle.
The Full Kettlebell Clean
Now we’re ready for the full proper clean. And because we’ve been working backward, the only step left to incorporate is the hike pass.
Of course, because you’re already practiced at the 1-arm swing, this is old hat. Indeed, the backswing into hip extension is all performed exactly the same as in the kettlebell swing.
When the hips snap forward, simply keep your elbow glued to your side, “zip up your jacket,” and guide the bell into the rack.
Congrats – you just did a full clean!
To start off, I recommend practicing cleans in between reps of swings. There’s a common tendency to slack off on hip extension power when cleaning. By performing 1-3 swings in between every clean rep, you’ll train your hips to stay consistently snappy.
Double Kettlebell Cleans
Let’s wrap up with a few quick notes on the double clean and your grip options.
The same learning sequence can be used for the double bell clean – starting with rack holds, then drops, power cleans from the floor, and finally from the hike pass and swing.
Using two kettlebells will necessitate a slightly wider stance and by extension, your hip hinge range of motion might be a bit shorter. Other than that, all technique points remain the same. Many folks report cleaning two bells is actually easier than one because of the balanced load.
Your grip orientation during the drop and backswing will influence how the bell rotates around the hand to land in the rack.
You have 4 basic grip options – Pistol grip with handles parallel, “10 & 2” with handles at 45 degrees pointing away, barbell grip with handles in line with each other, and the “V” grip with handles at 45 degrees pointing towards you.
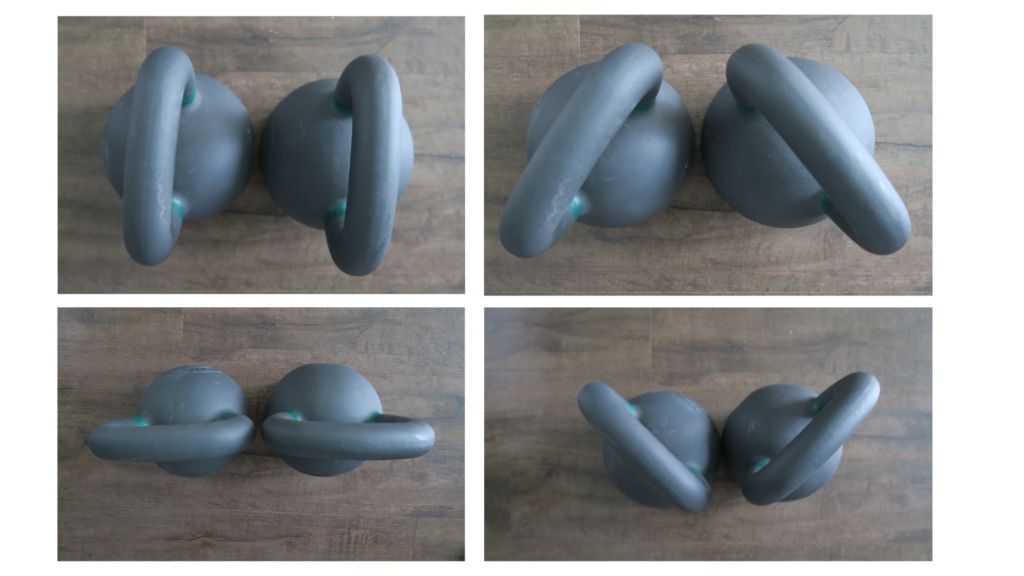
Each style has pros and cons and their suitability will depend on your build and general preference. I encourage you to experiment to find what feels strongest to you while keeping in mind that different techniques may be more or less appropriate as you move through bell sizes.
All that said, I generally recommend folks start out with the “10 & 2” grip as that seems to allow for the most consistent lat engagement through the entire rep.
How to Breathe in the Clean
One last technique tip – if you’re familiar with the hardstyle swing, you know how to power breathe to put some extra power on the hip snap. The same breathing pattern can be applied to the clean as well – inhaling through the nose during the backswing and exhaling forcefully with the hip extension.
A common mistake I see, even among kettlebell coaches and enthusiasts, is holding the breath too long and exhaling when the kettlebell lands in the rack. You’ll see this a lot in the snatch as well where the exhalation is timed with the landing of the bell as opposed to the snap of the hip. So just keep that point in mind –
To use the power breath effectively, time it with the hip!
Kettlebell Clean Workout
And finally, here’s a fun sequence to practice your cleans while getting a great total-body strength workout:
Clean + Press double kettlebells for 3 reps.
Clean + Squat for 3 reps.
Repeat for 2 reps each.
Repeat for 1 rep each.
That gives you a total of 12 cleans, 6 presses, and 6 squats. Try it for 3 rounds, resting 2 minutes between rounds.
So there you have it. The kettlebell clean is a tricky lift, but well worth the time to learn. And once you do, you’ll unlock a whole new level of possibilities for your kettlebell training.